Sundancer Full Enclosure

Sundancer 300 Custom Full Enclosure
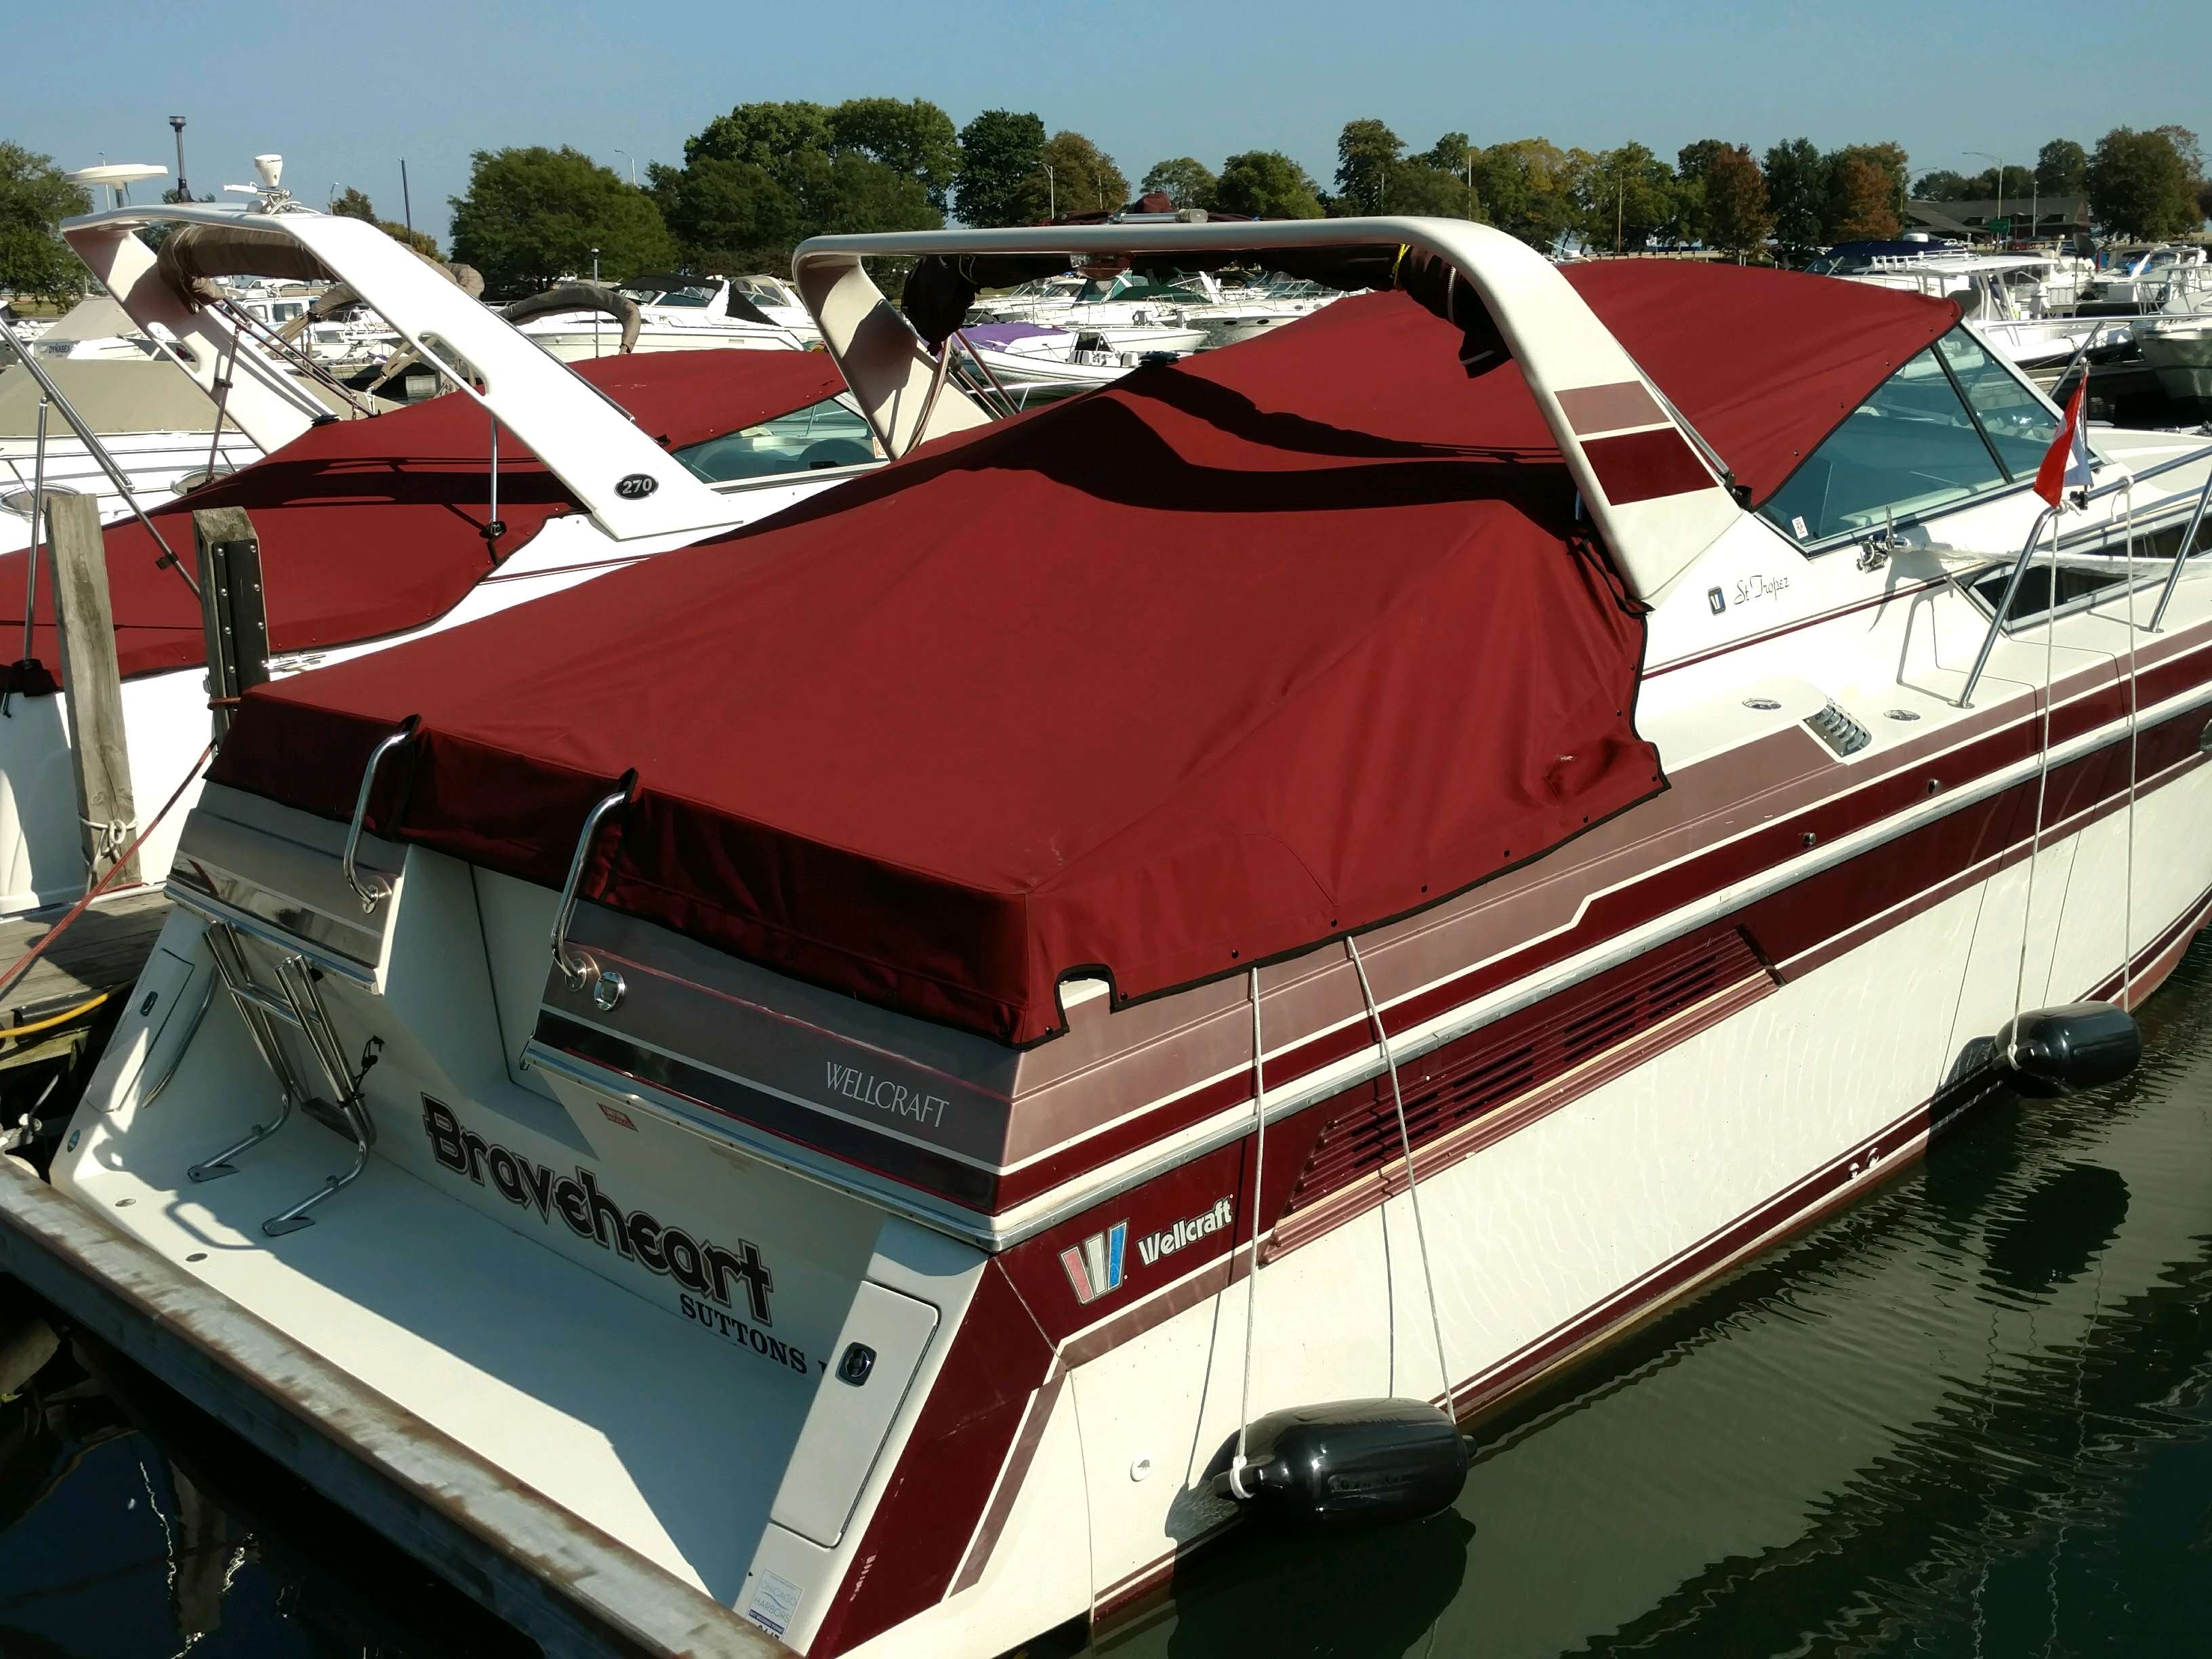
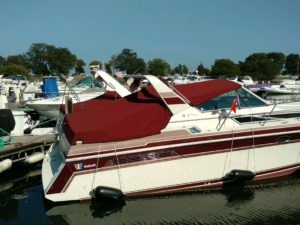
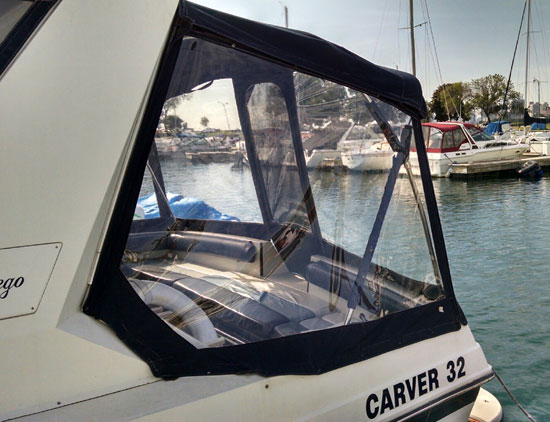
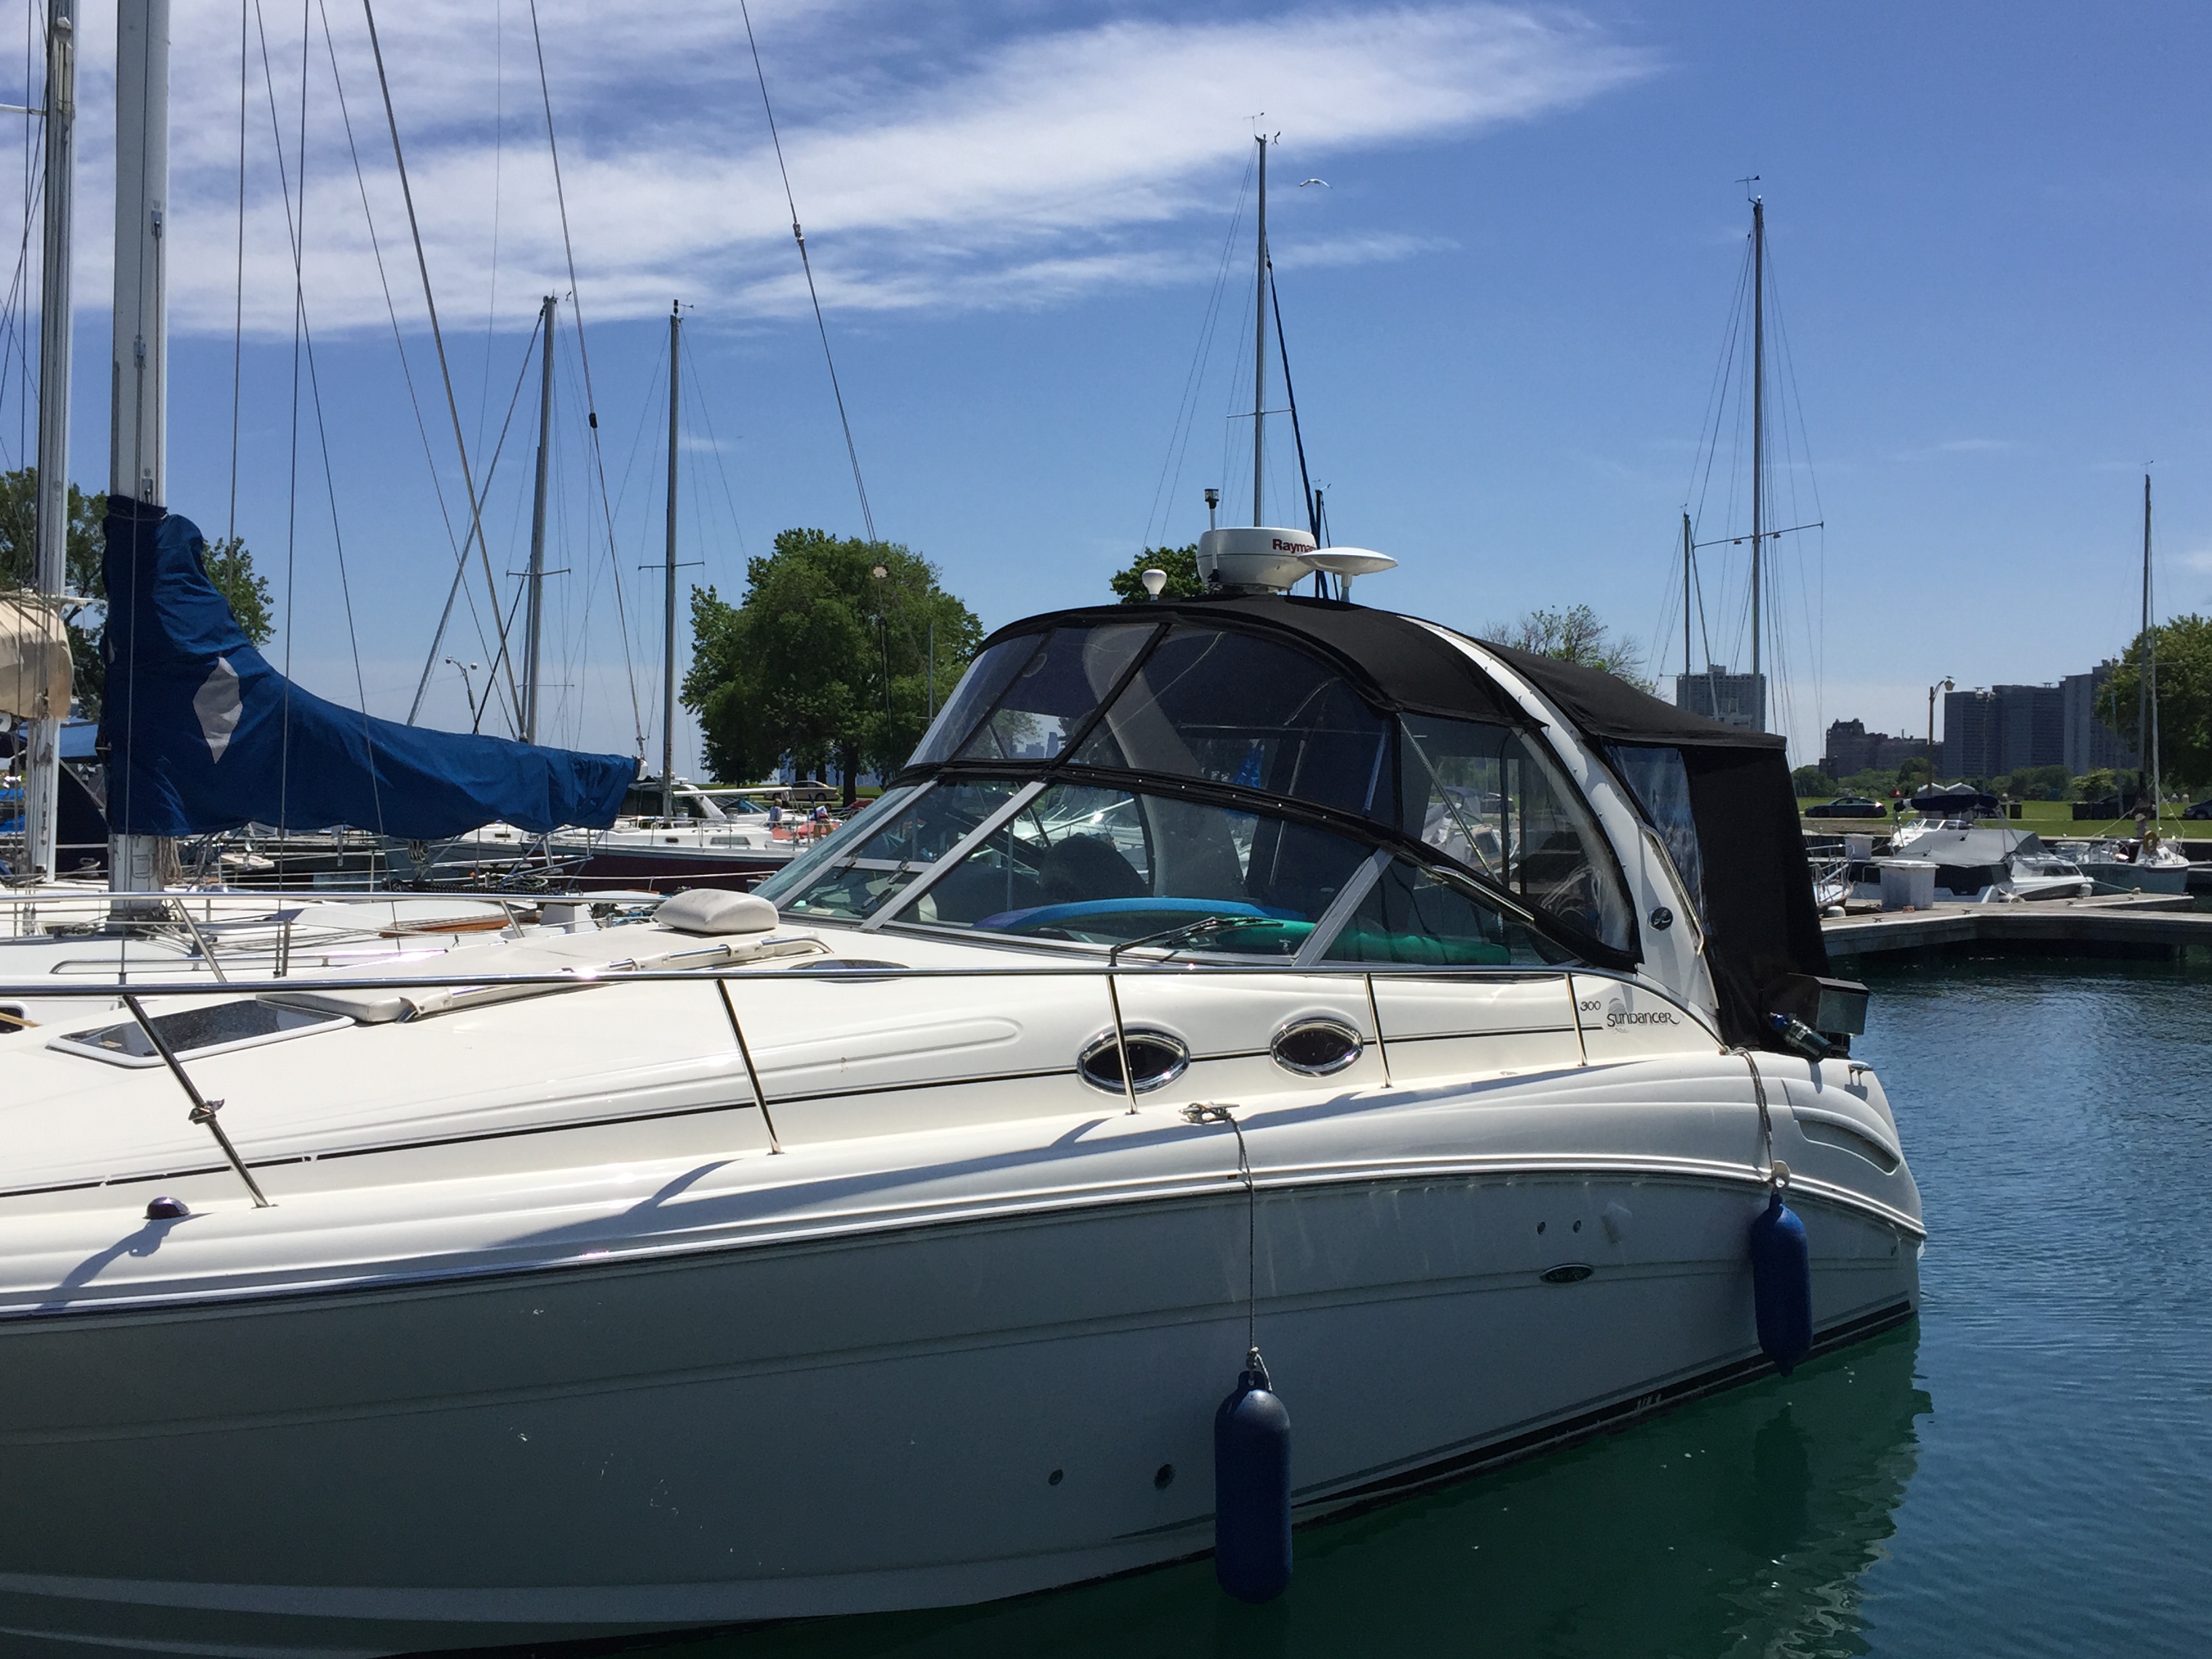
This Sundancer 300 was in need of a new full enclosure.

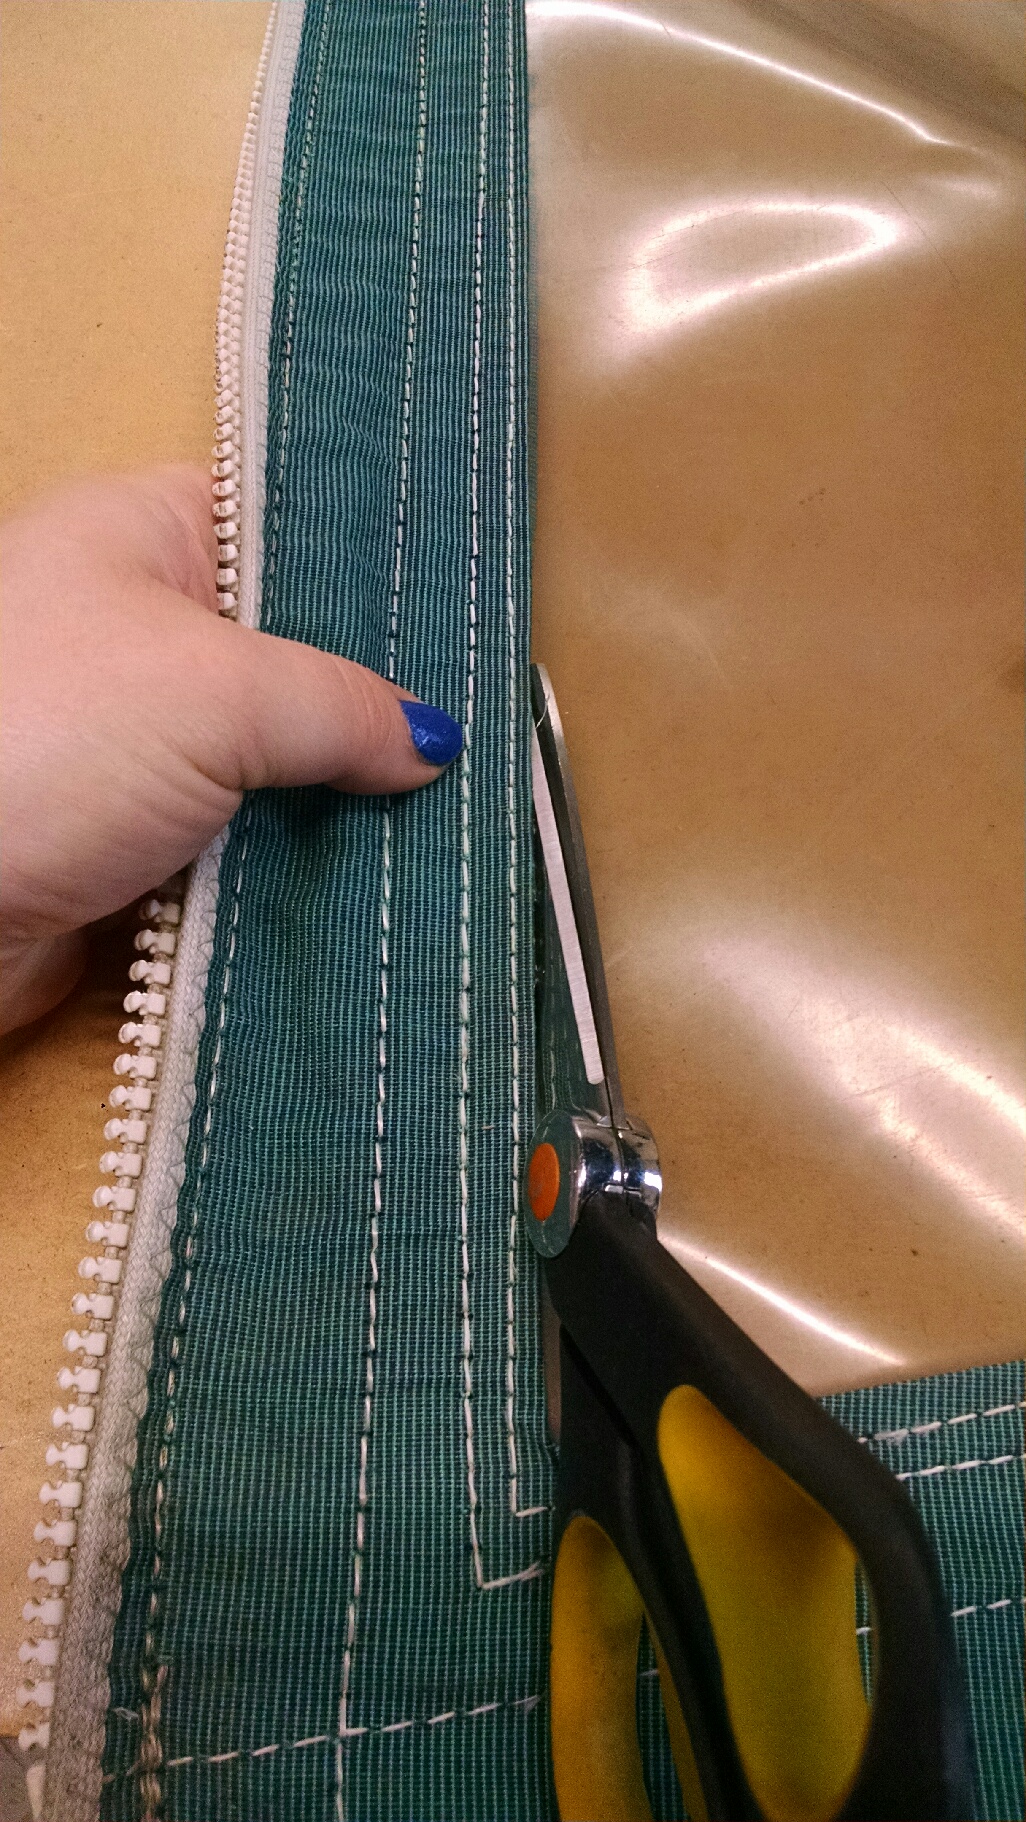
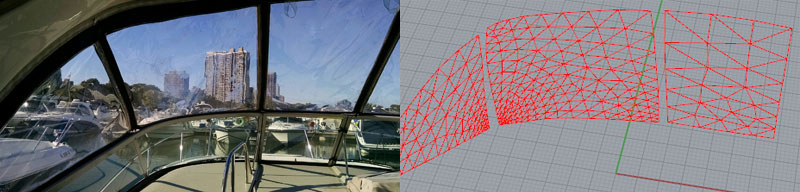
We always begin our process by going out to the boat with our team to take measurements. We use a 3d measuring device that is quick and efficient, which saves us time and you money at the end of the day. After we take the measurements, we head back to the shop to start the design process. We do all of our design work on the computer, making sure to custom tailor your new cover so that it fits perfectly. Once we finish up the design work, we have our plotter draw out all of the patterned pieces for this enclosure. Then we hand it over to our seamstress so they can get to work.

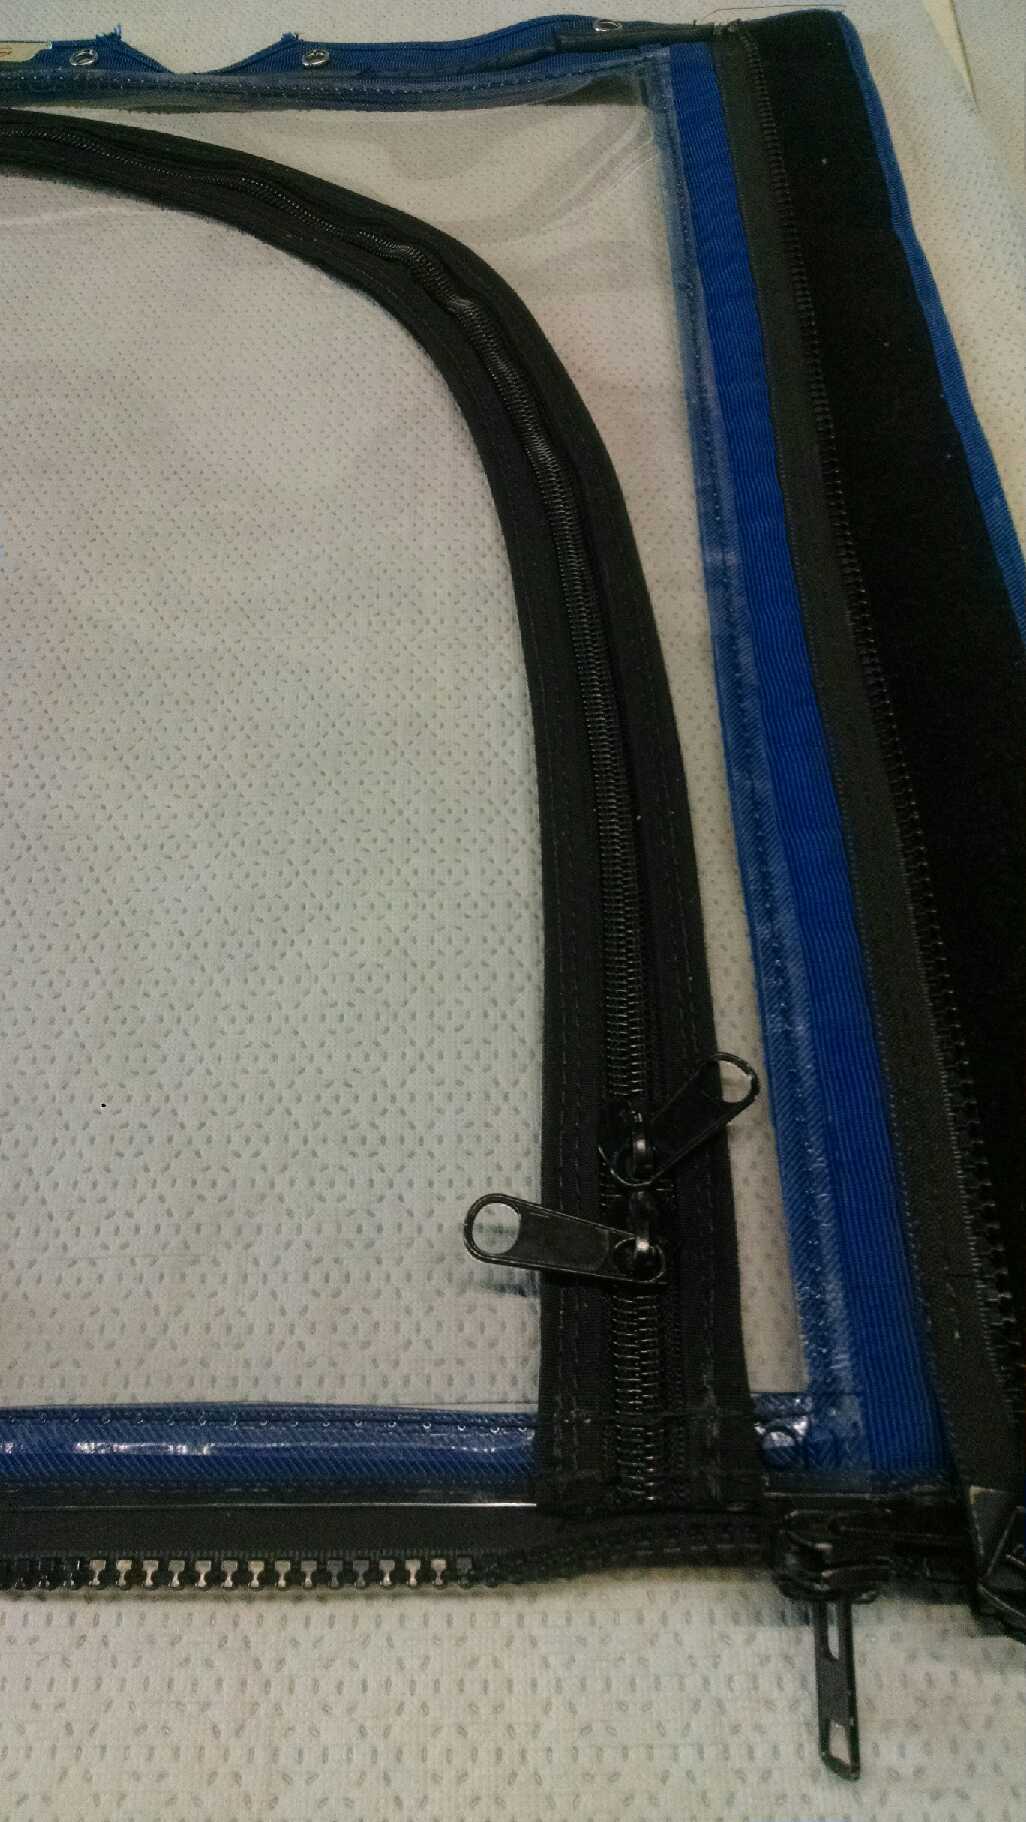
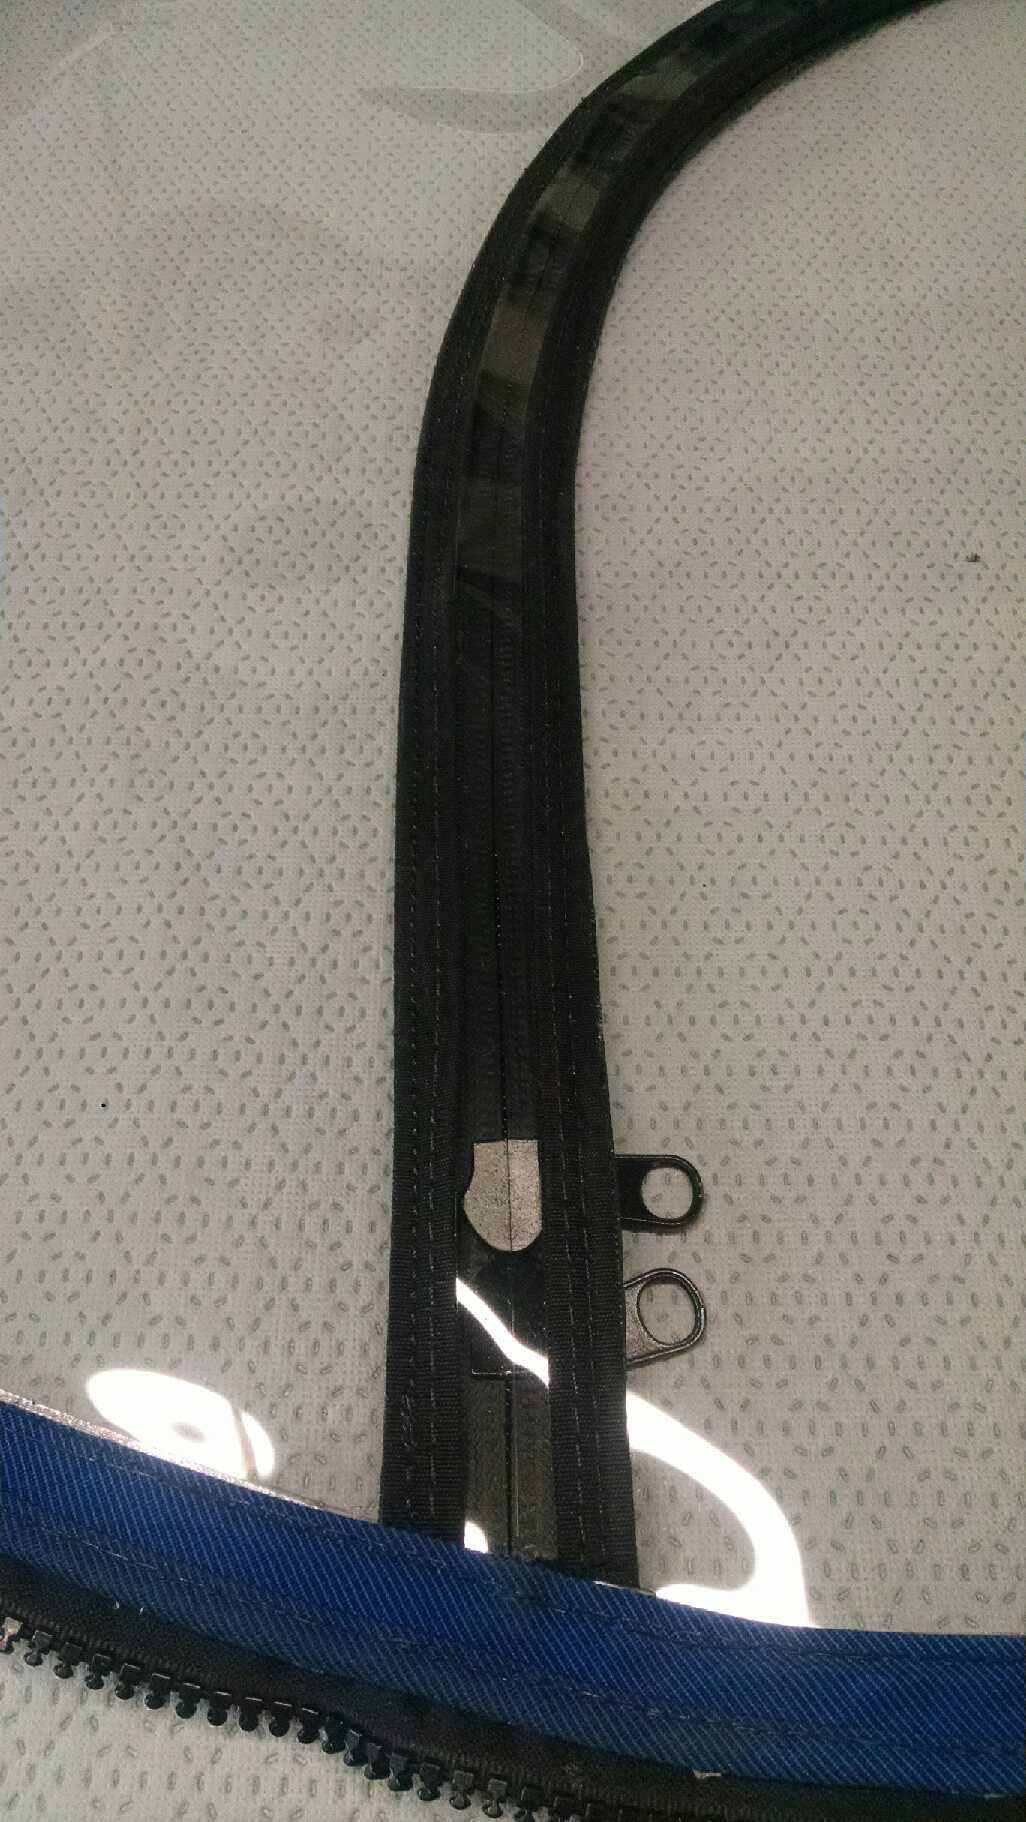
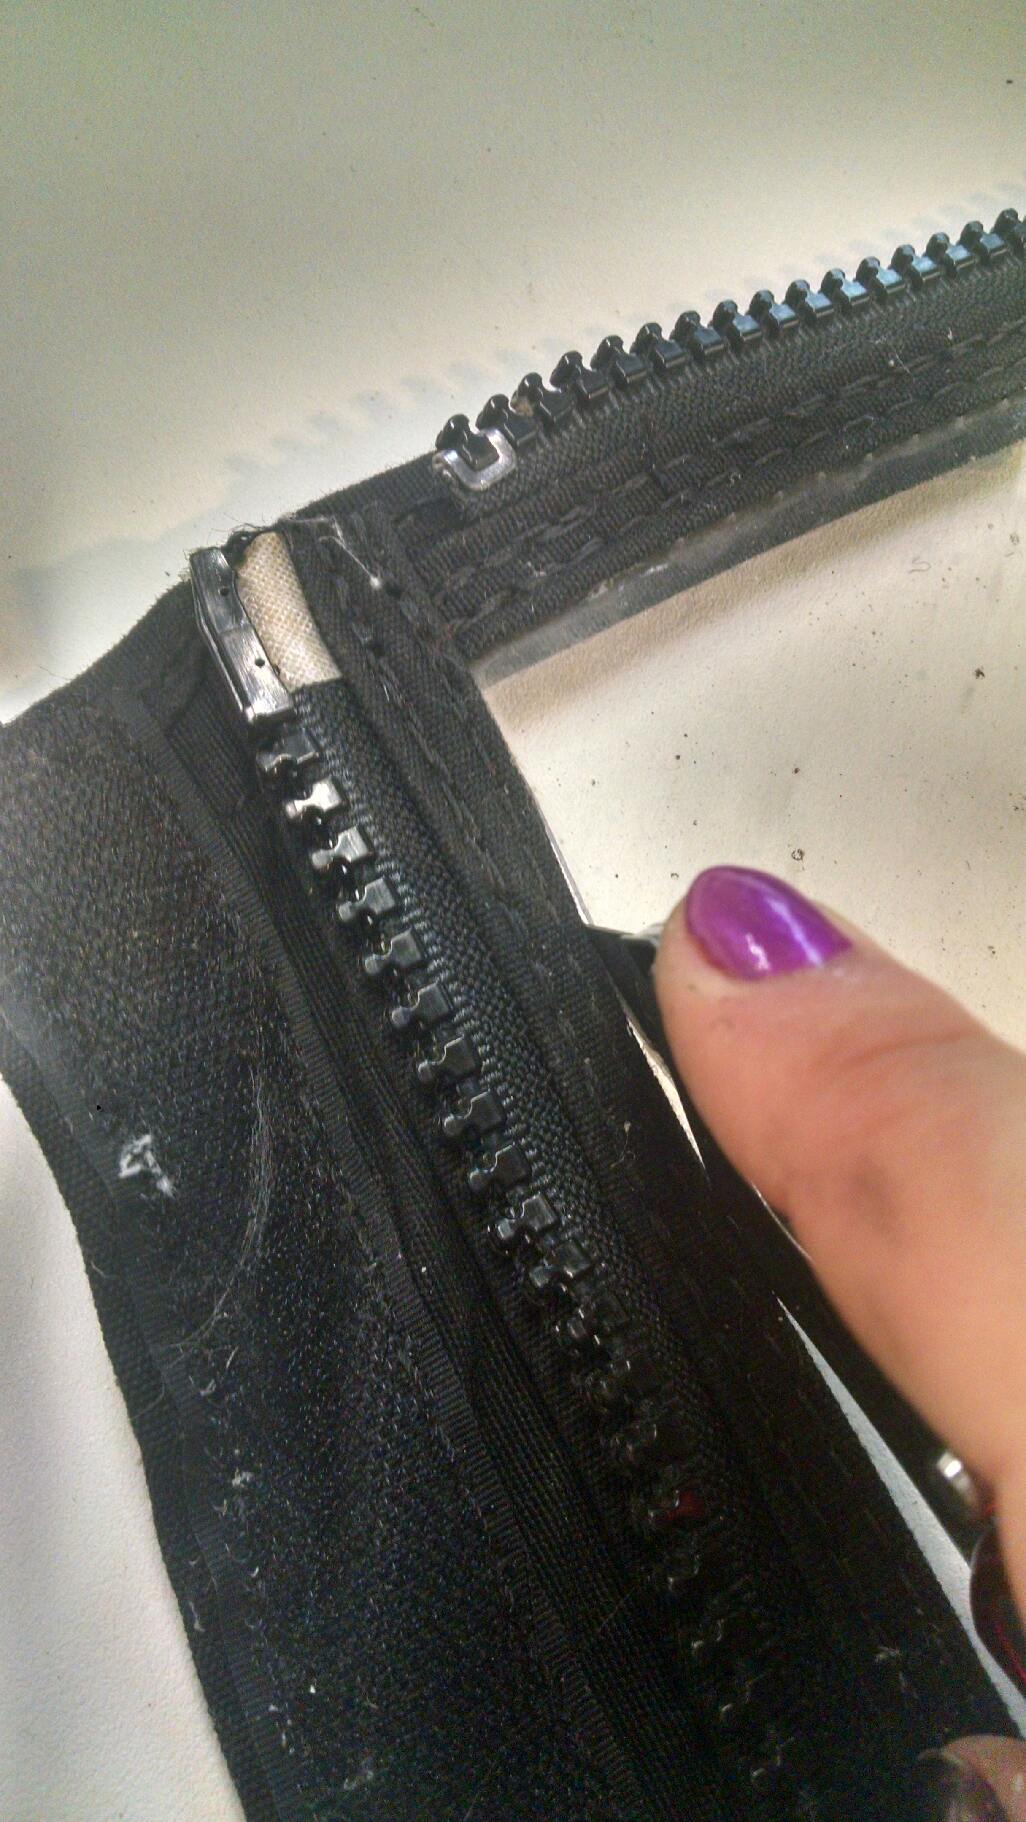
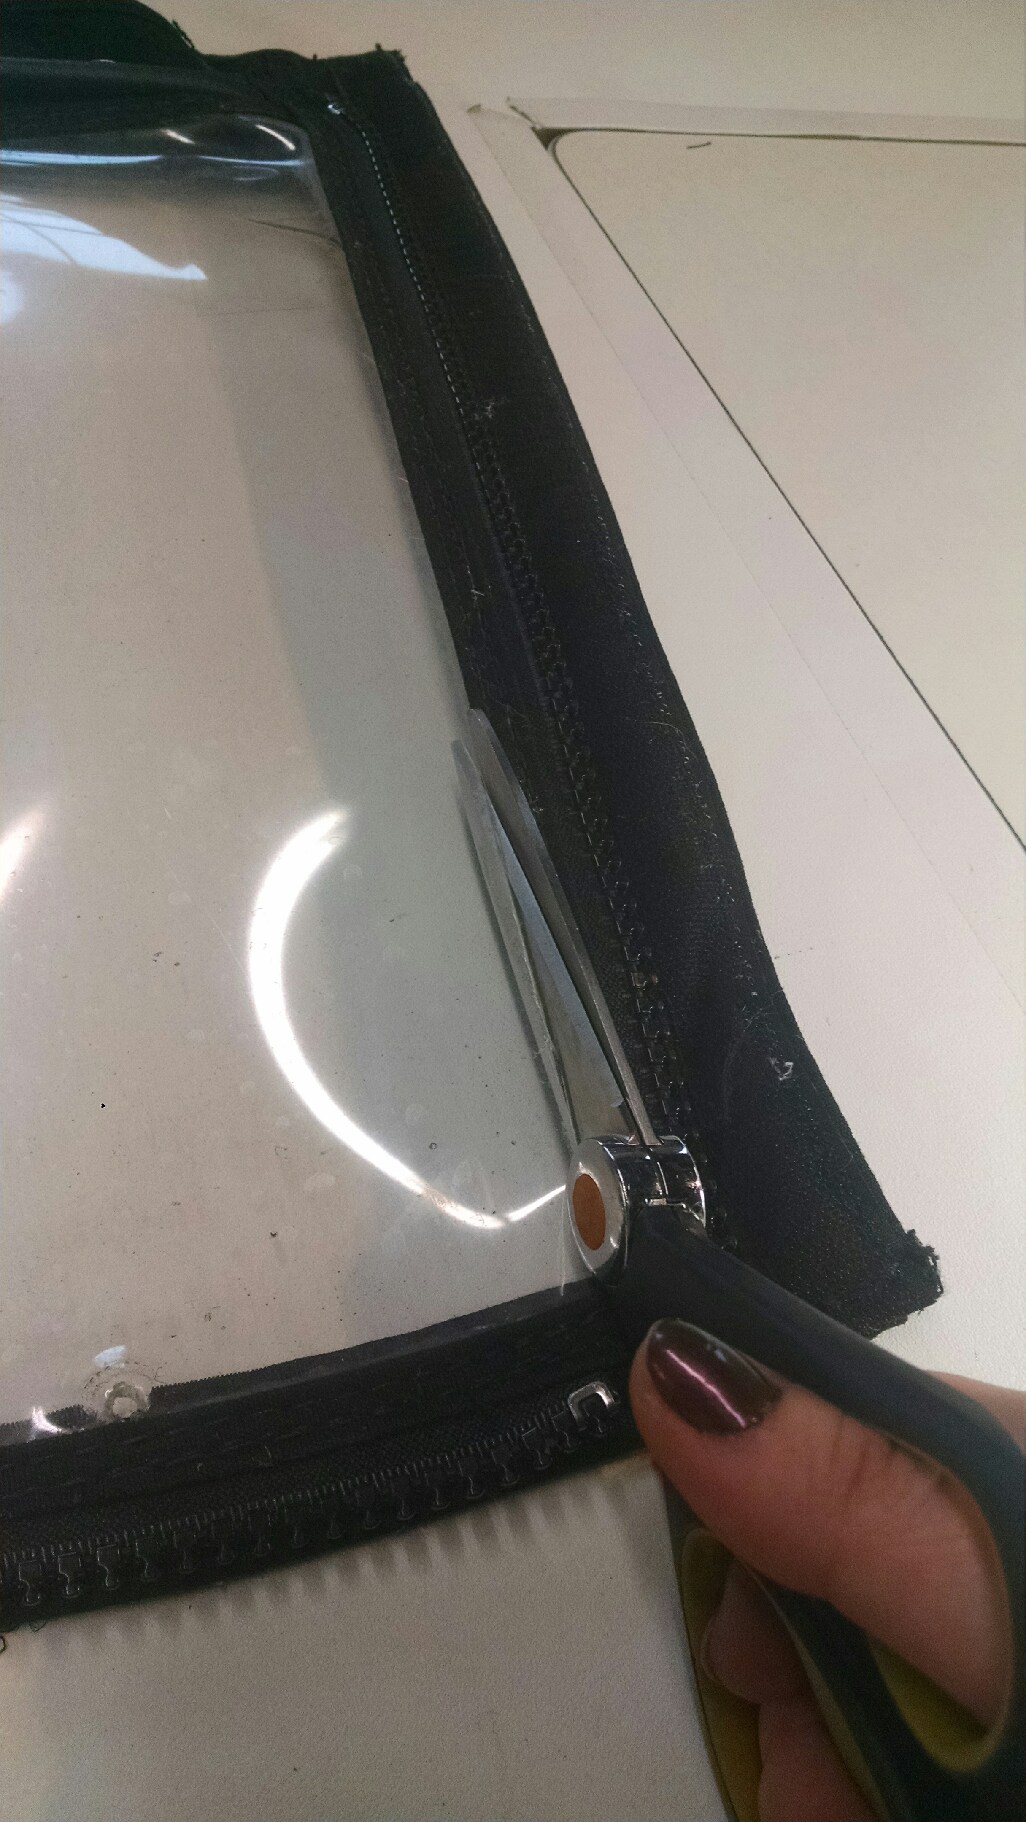
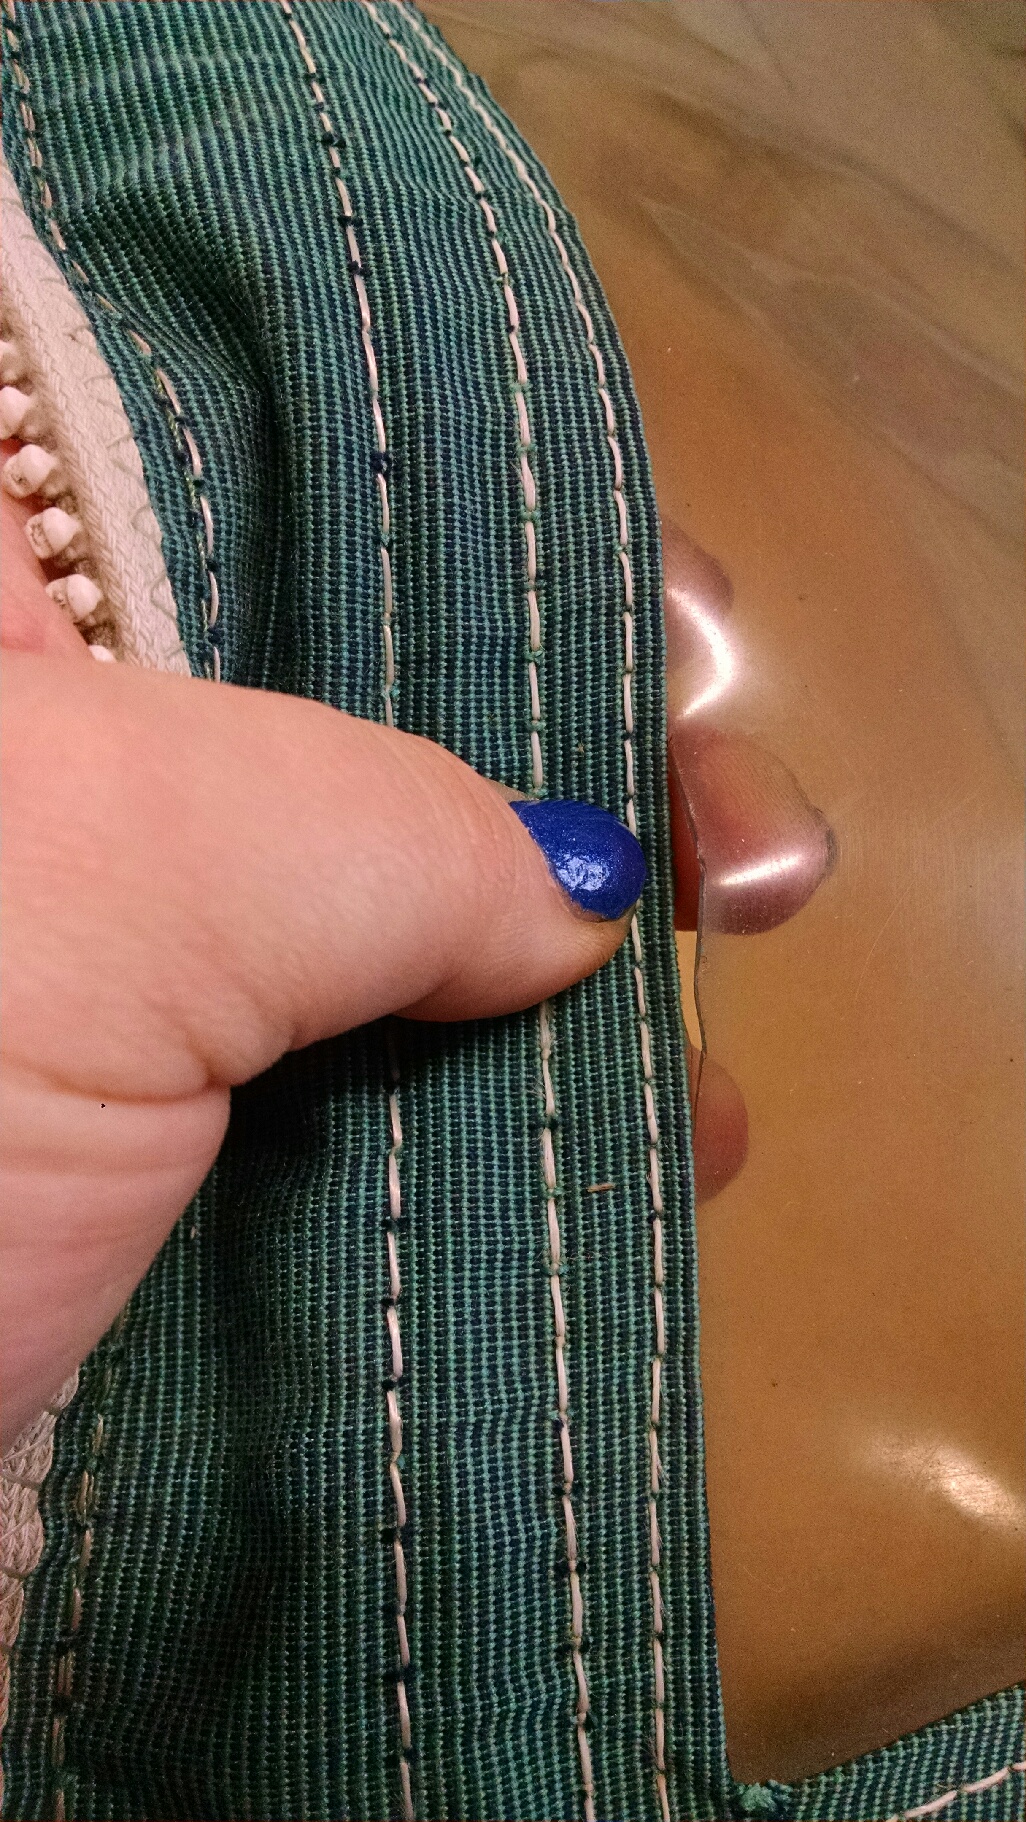
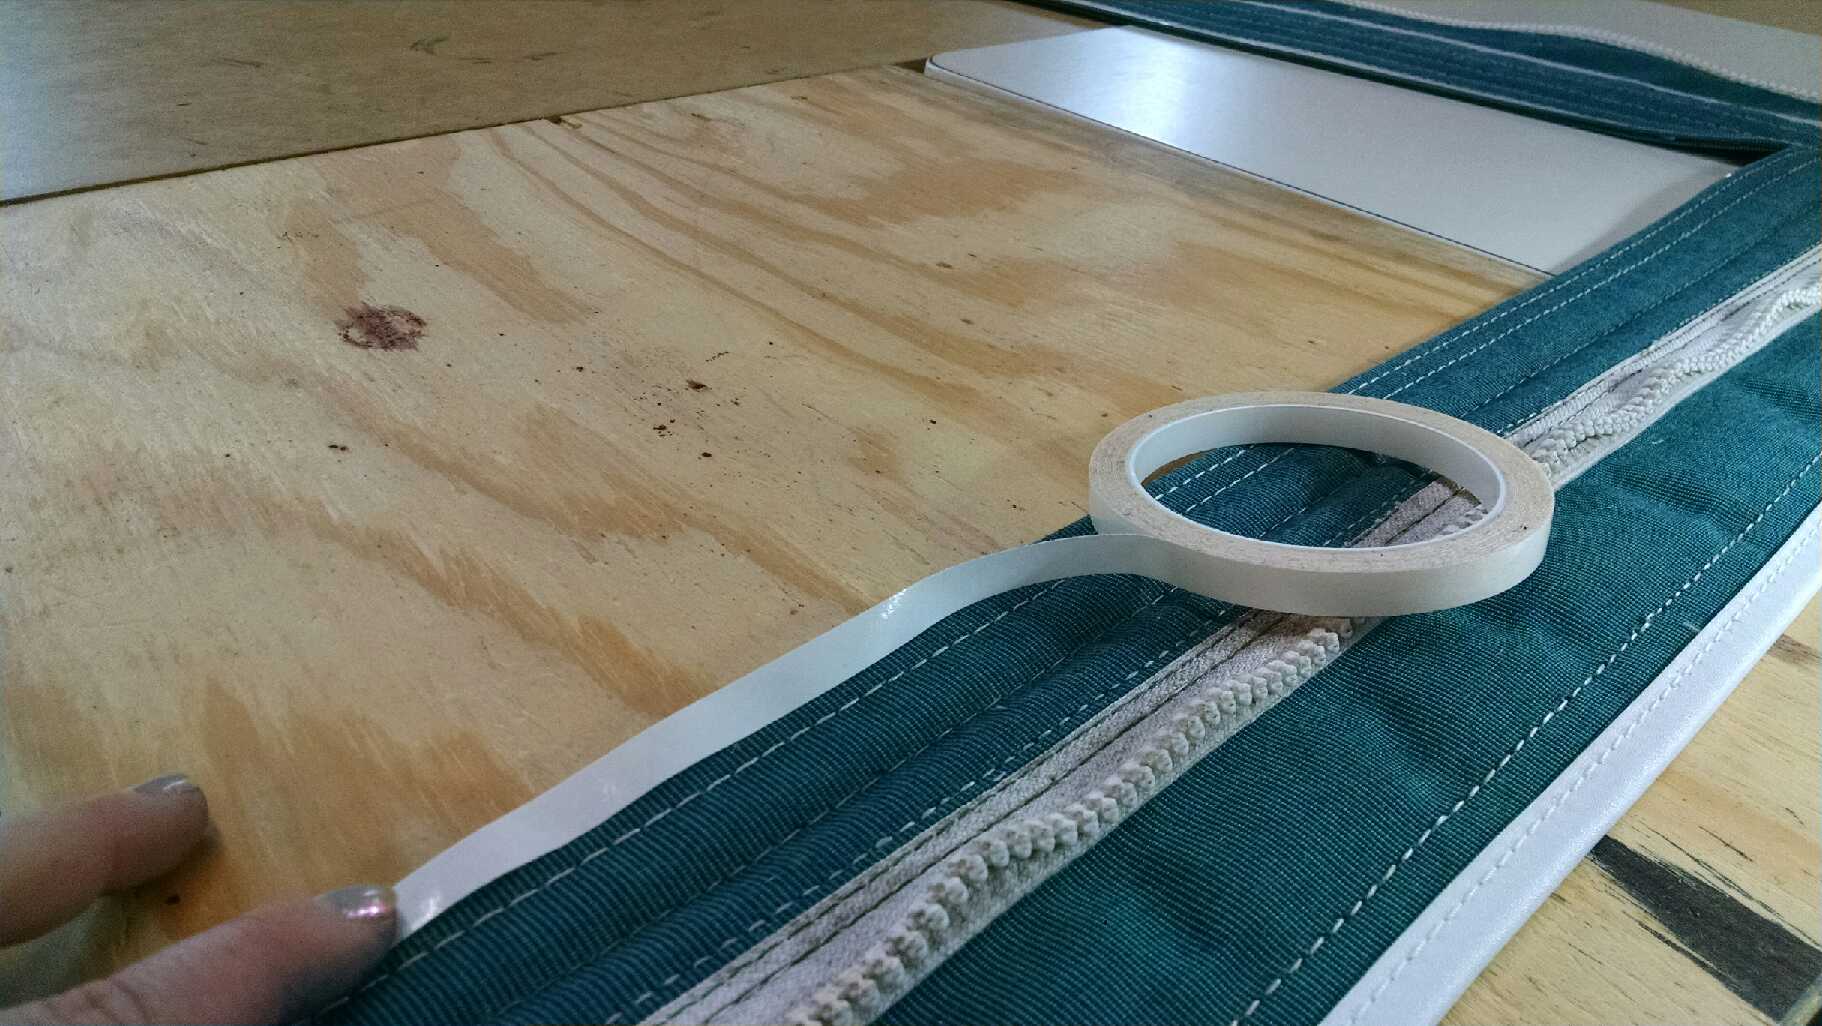
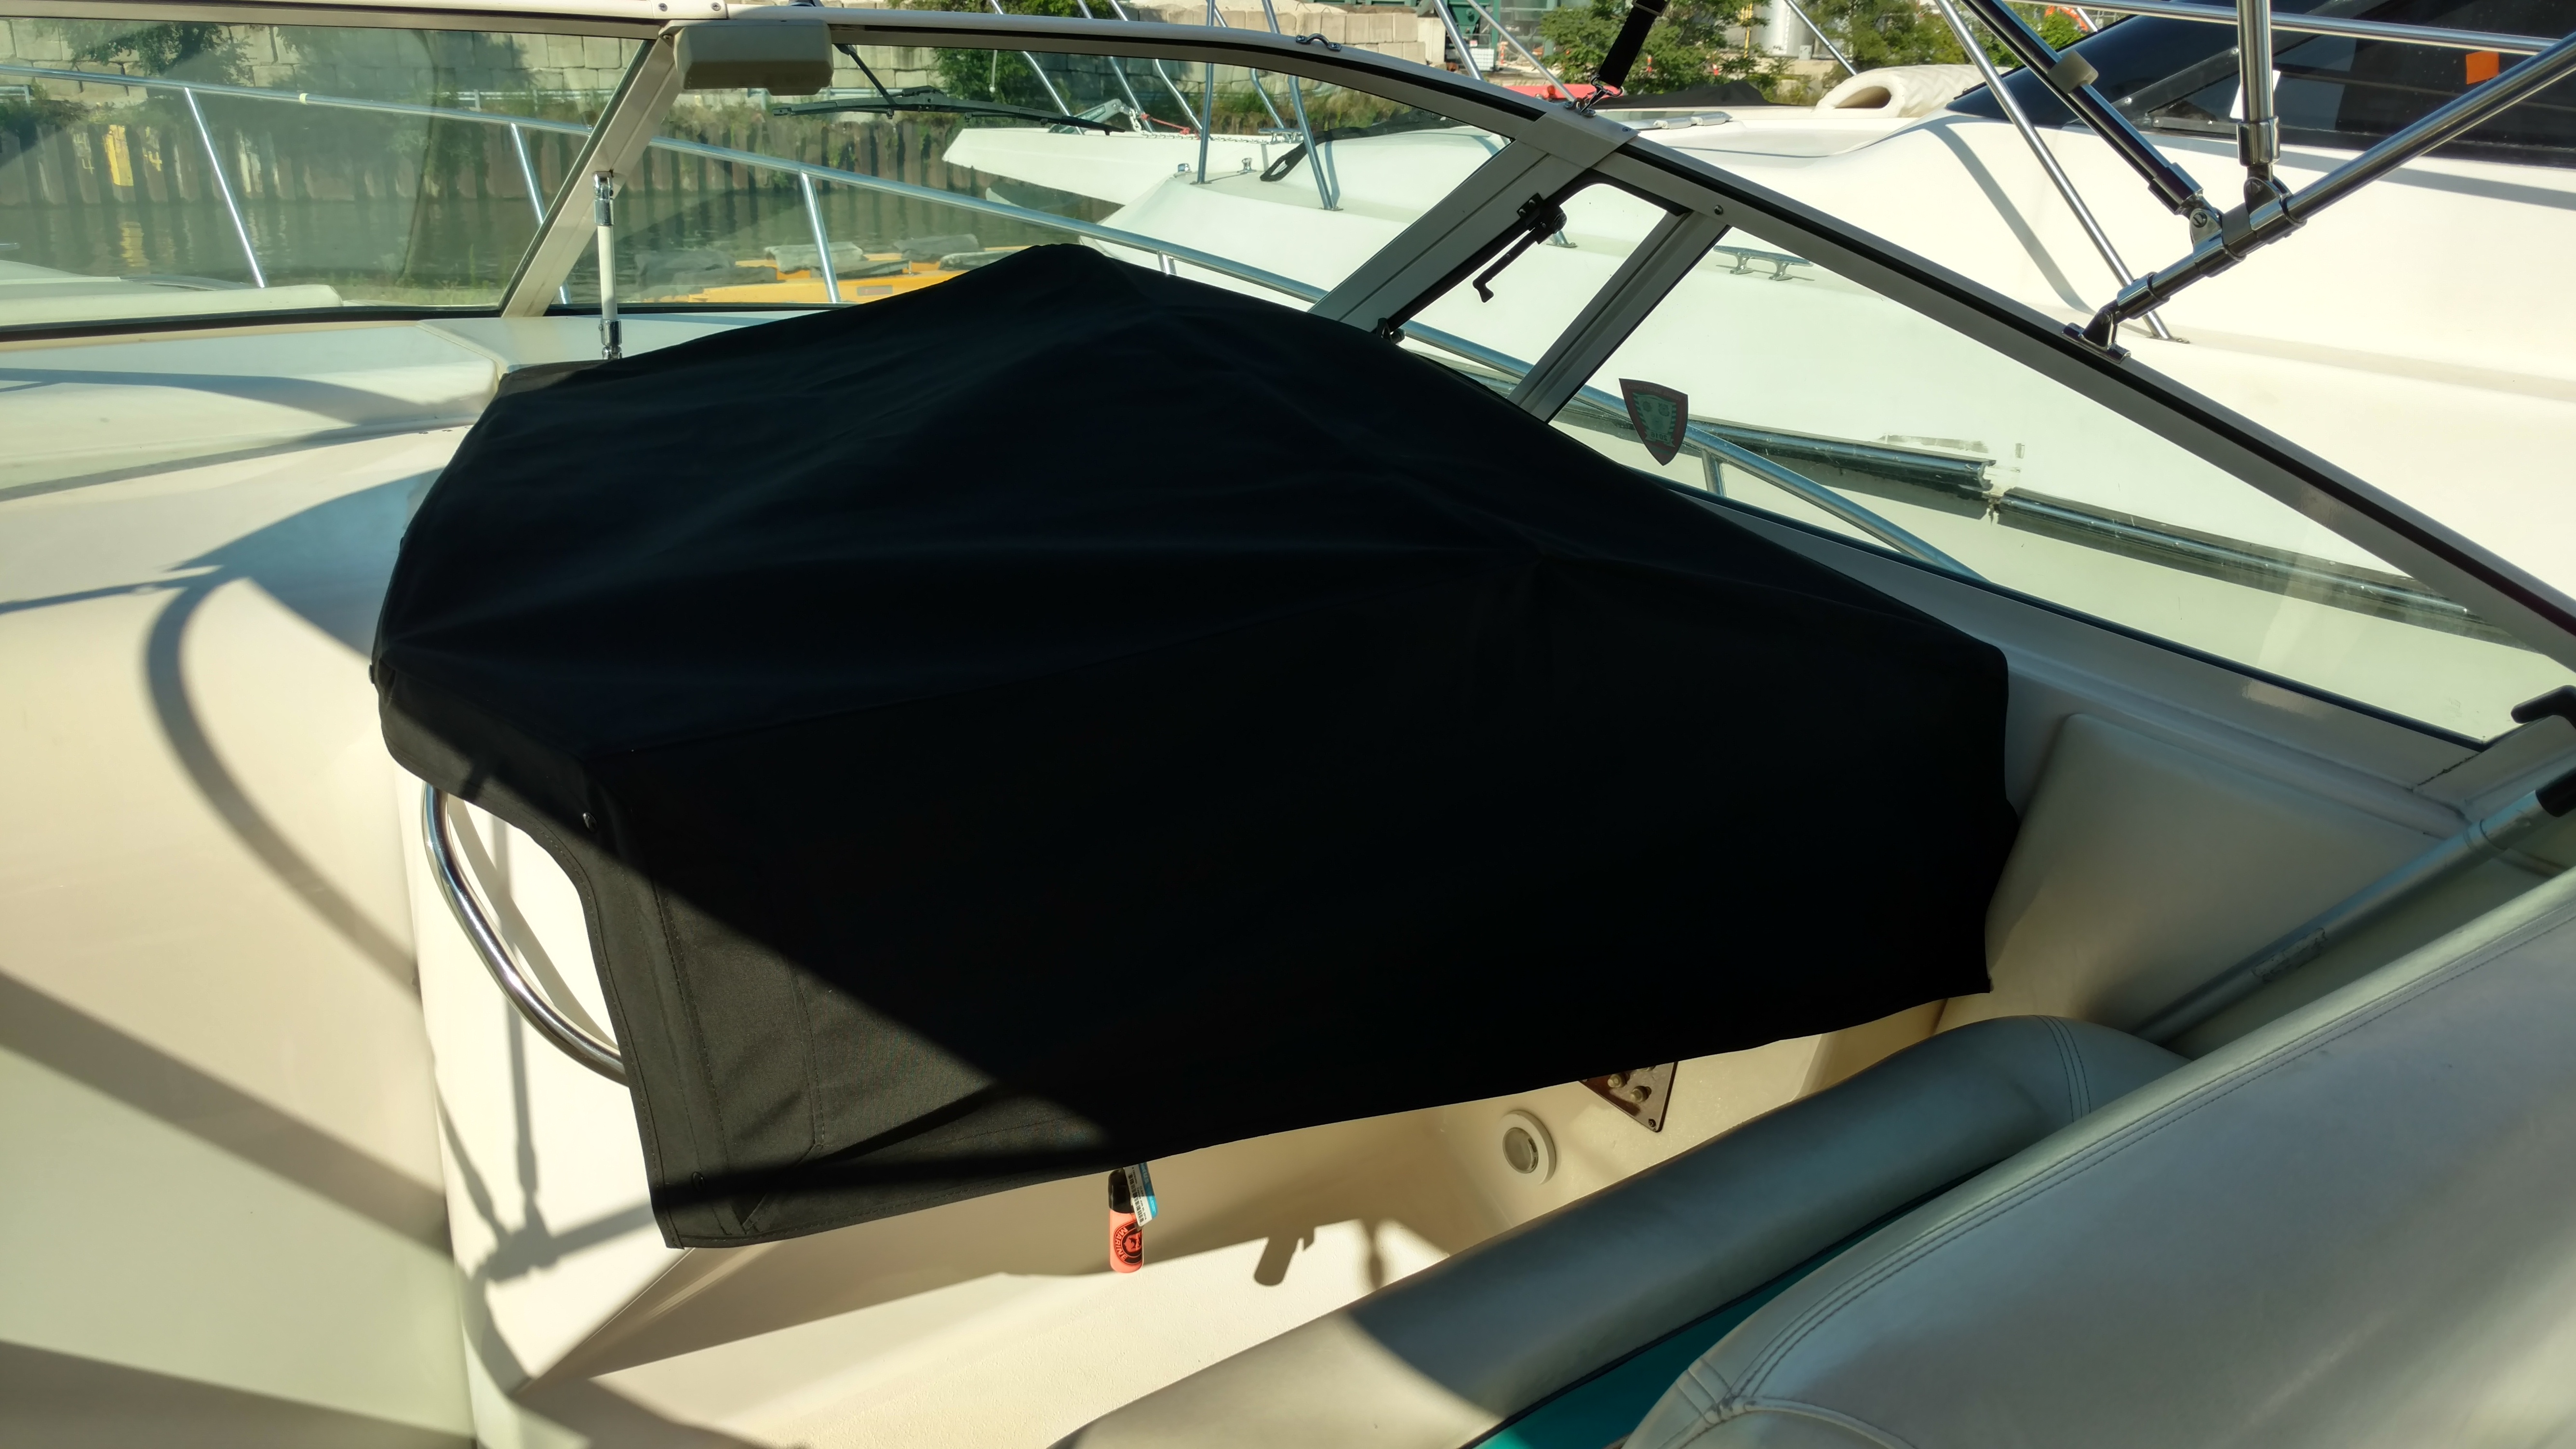
For this project we used Sunbrella in black, GORE tenara thread in black, and Sunbrella binding in black. GORE tenara thread has a lifetime warranty which means no more sun eaten seams. We also used Lenzip zippers in black which also have a life time guarantee.

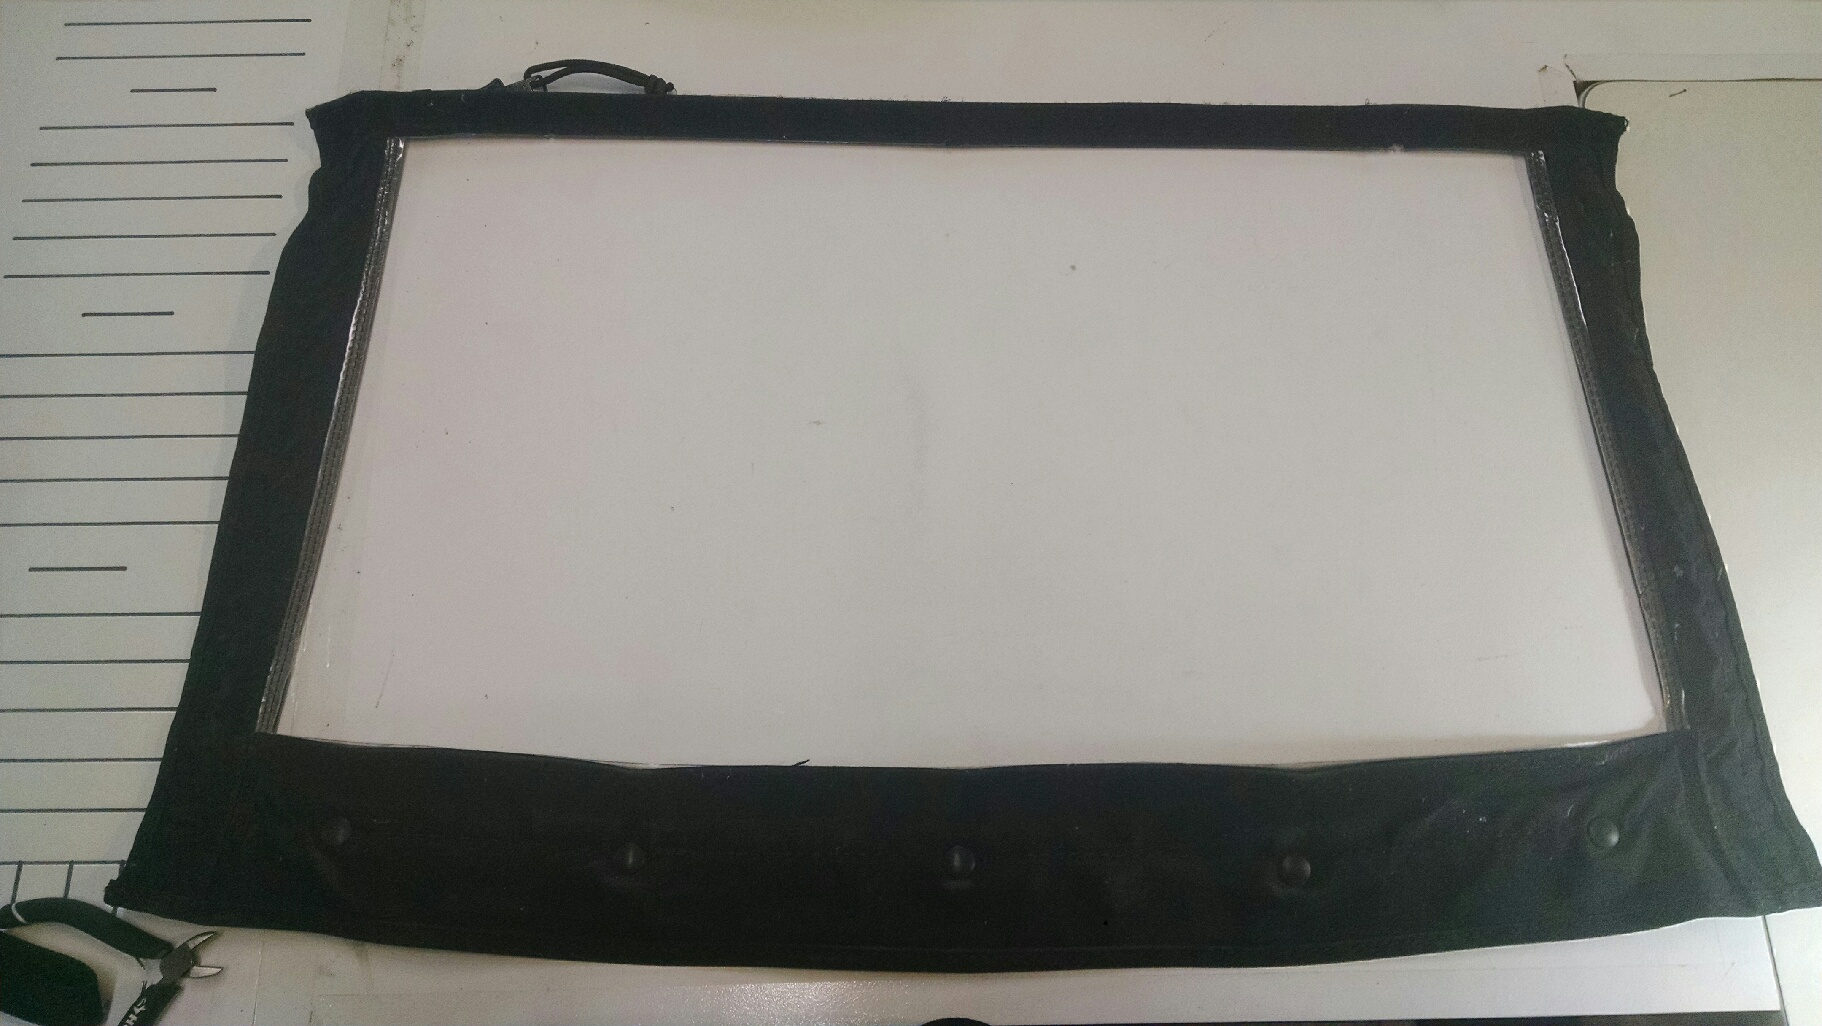
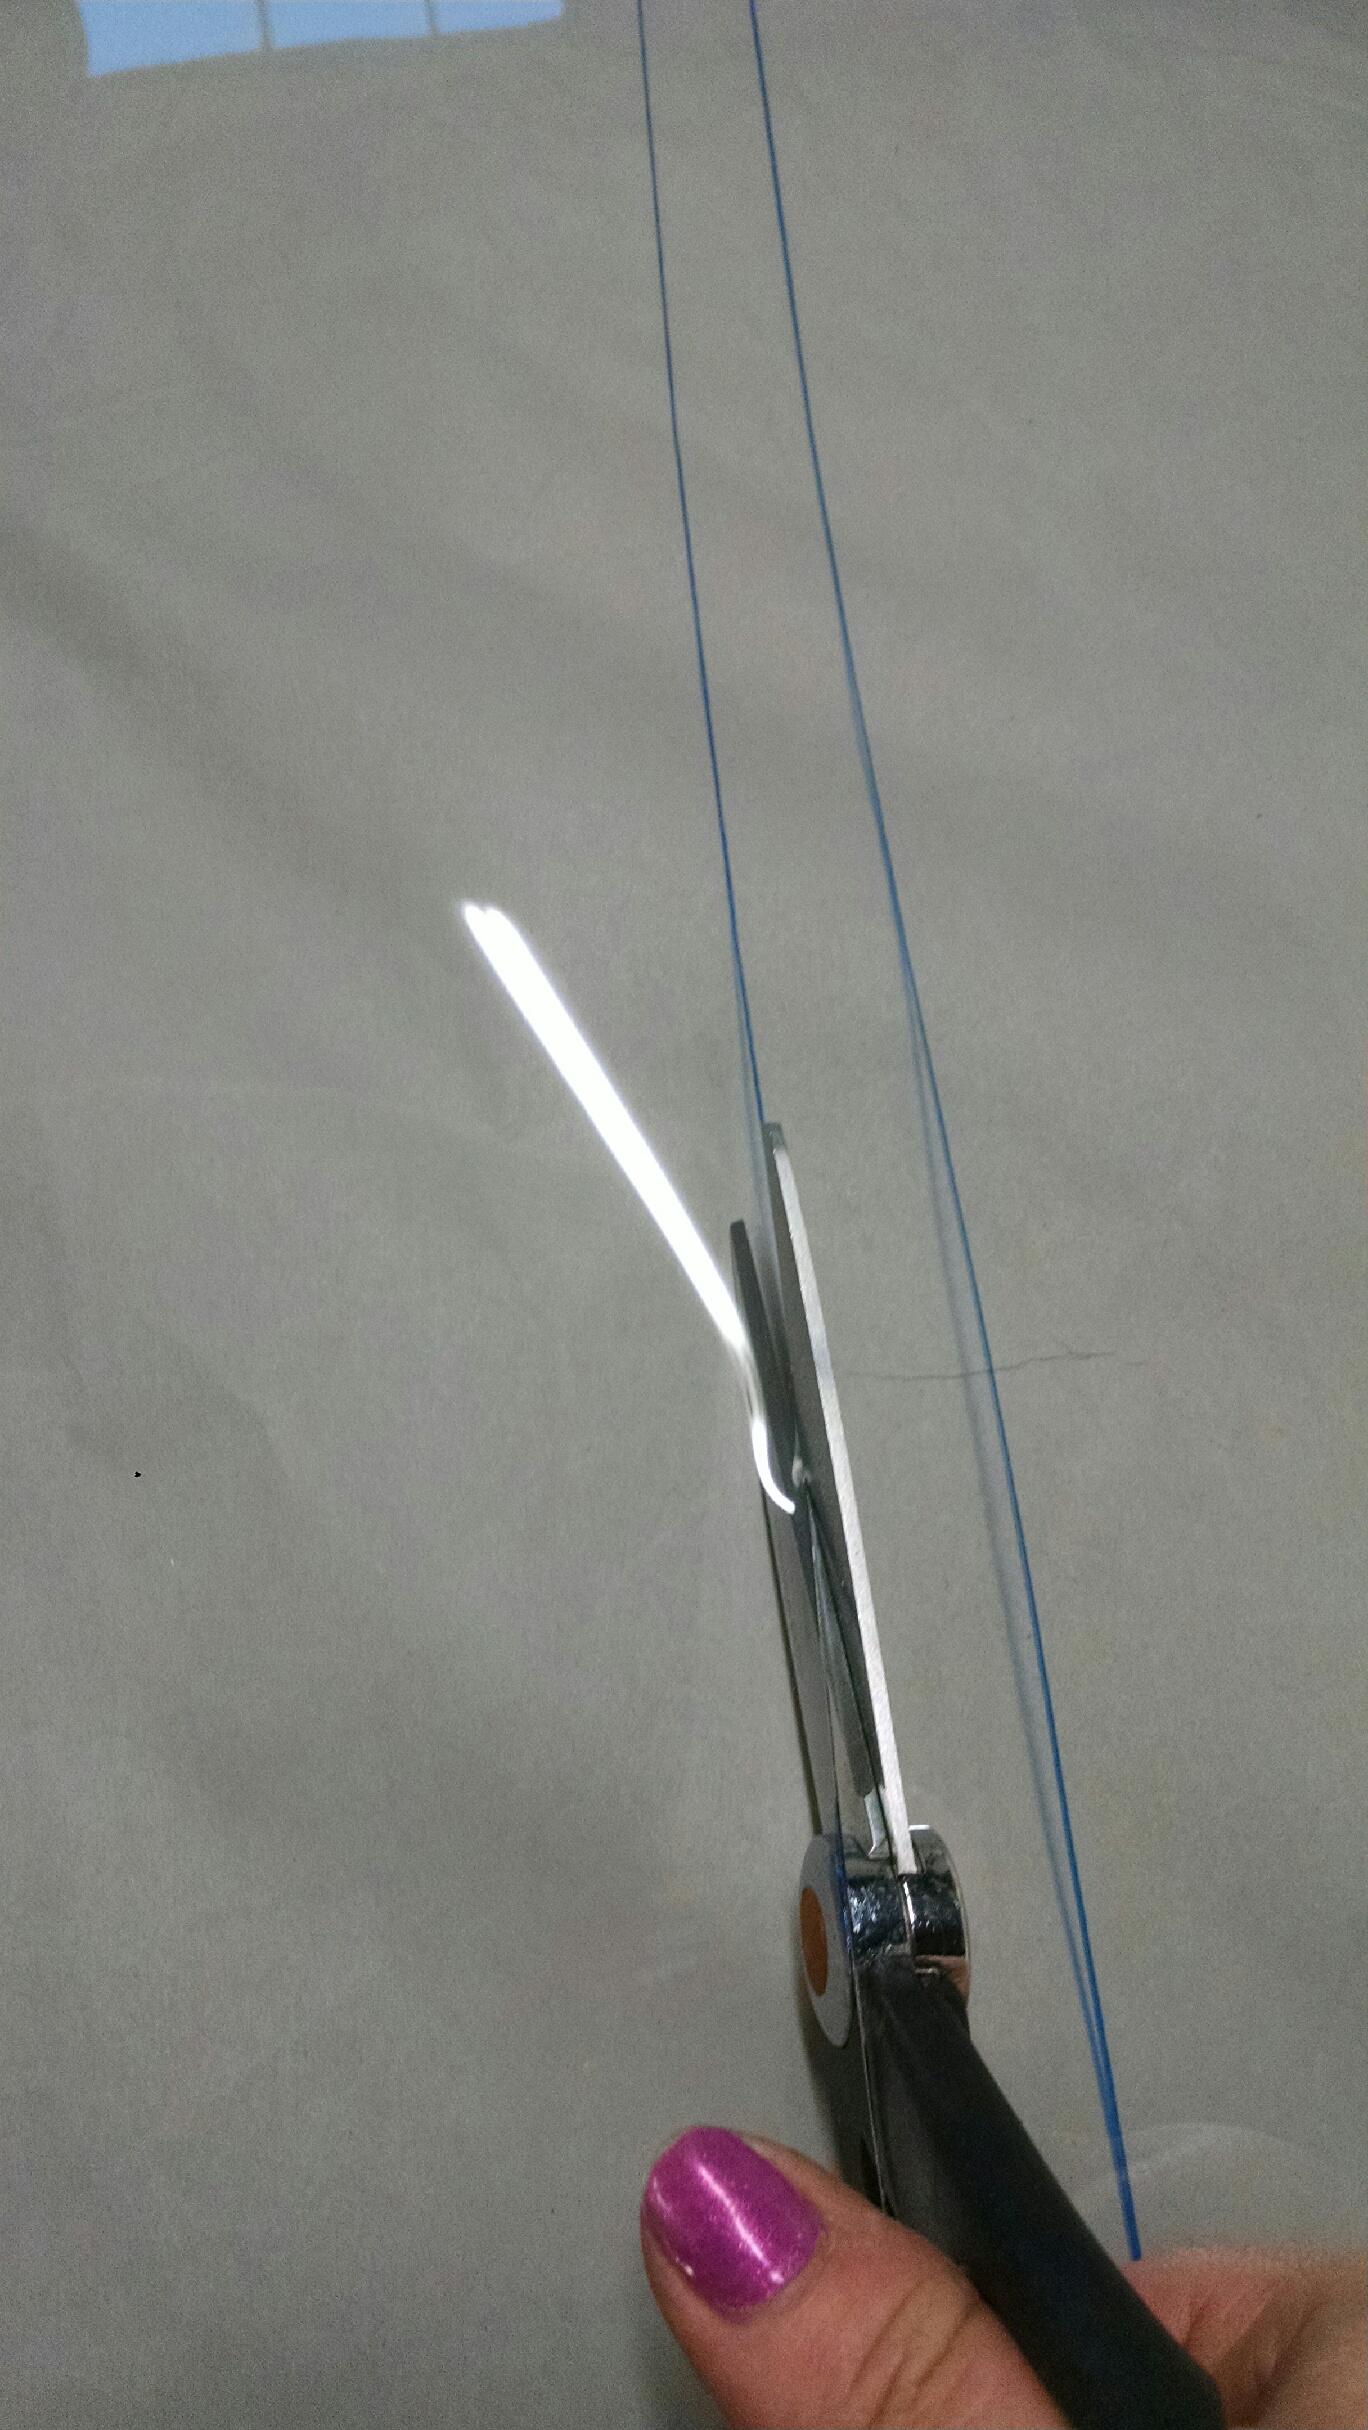
For the front windows we used Makrolon which is a semi-rigid polycarbonate. The great thing about Makrolon is that it doesn’t sag like other vinyls. It also doesn’t expand or contract in different temperatures that way your cover always look brand new. With Makrolon your new enclosure looks like an extension off of your windshield, making your new cover looking super clean and chic.

Sundancer 300 Custom Full Enclosure
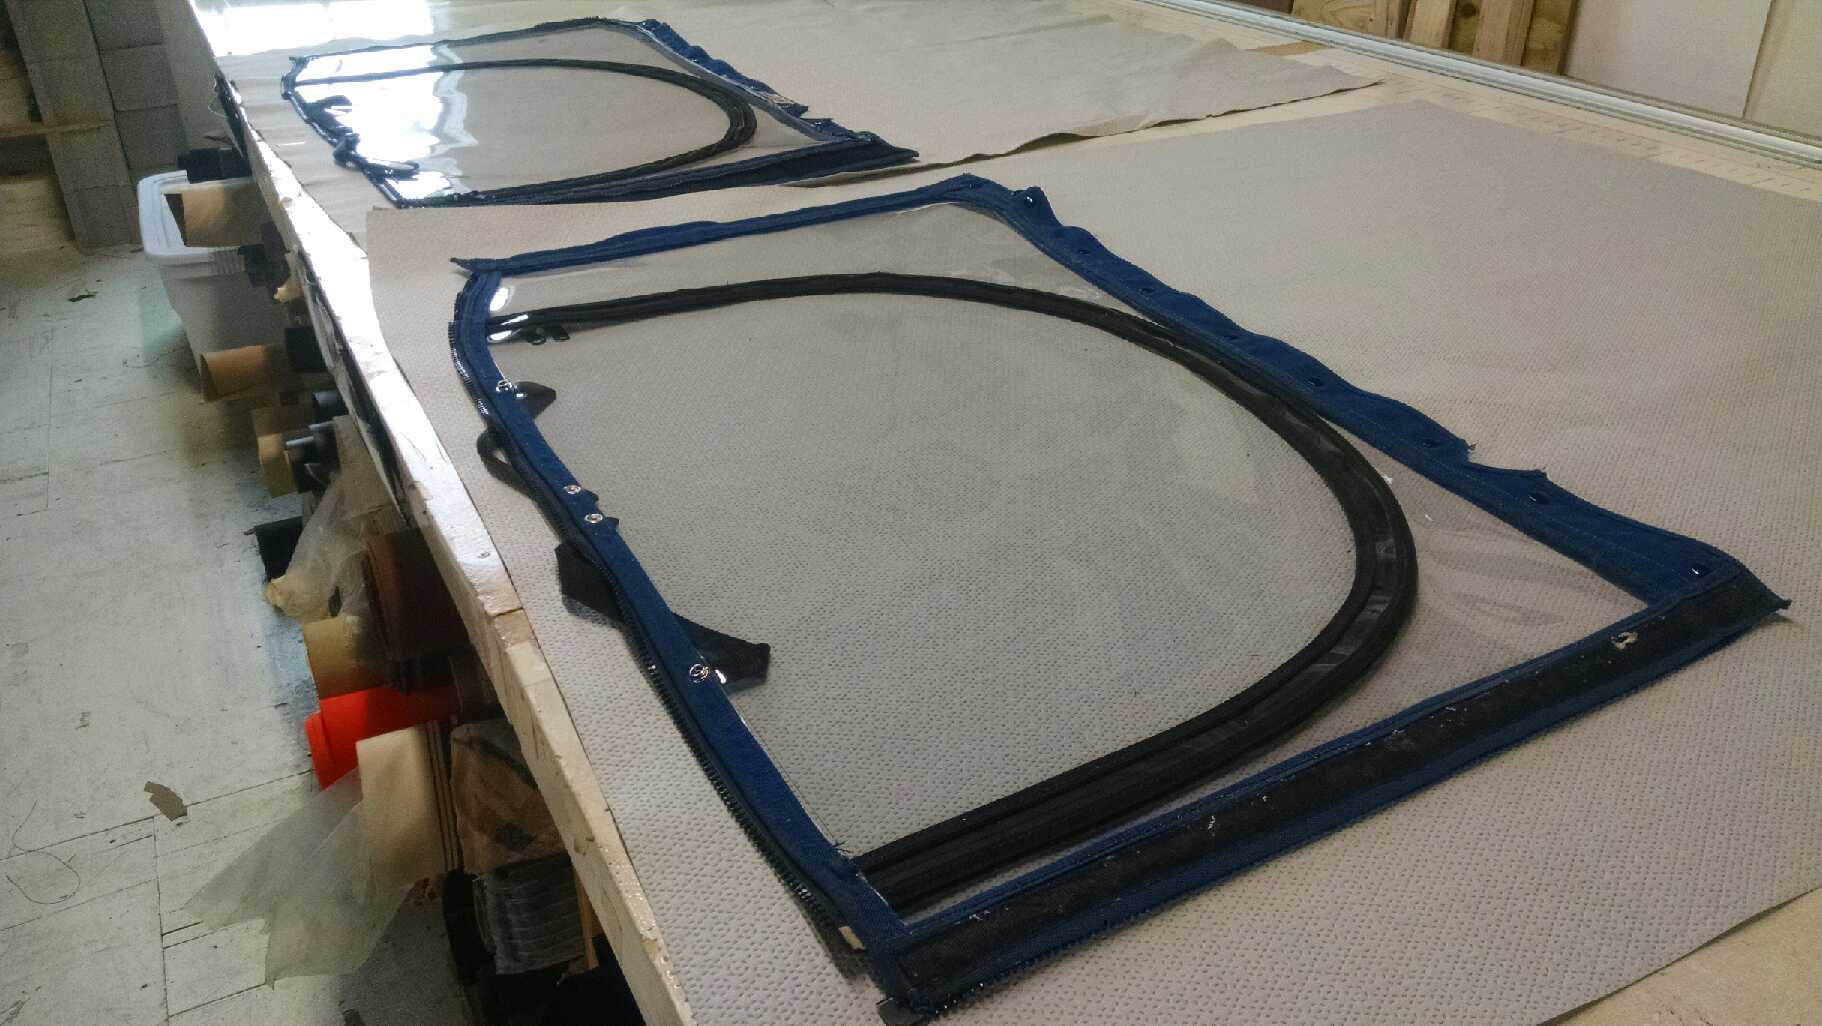
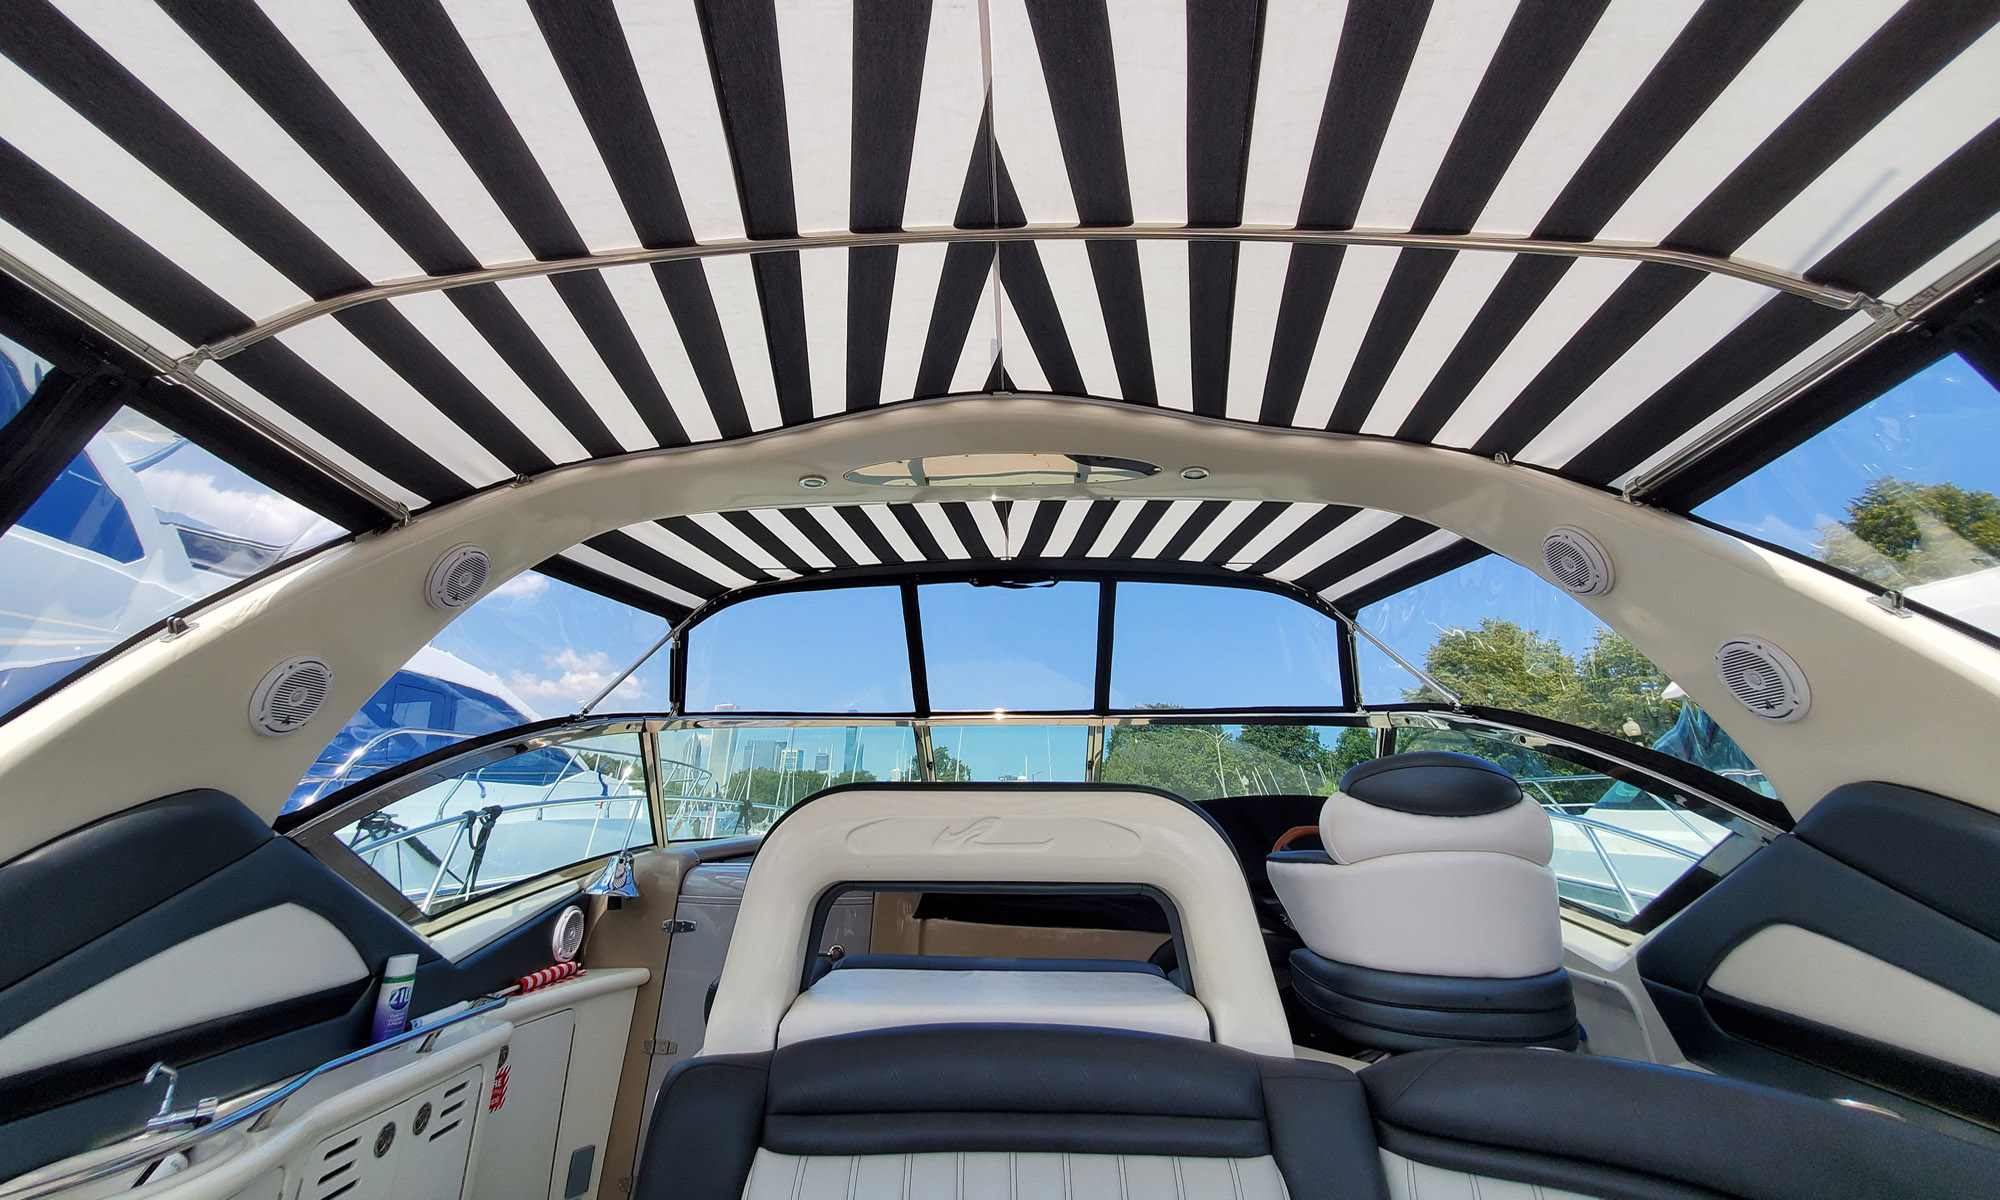
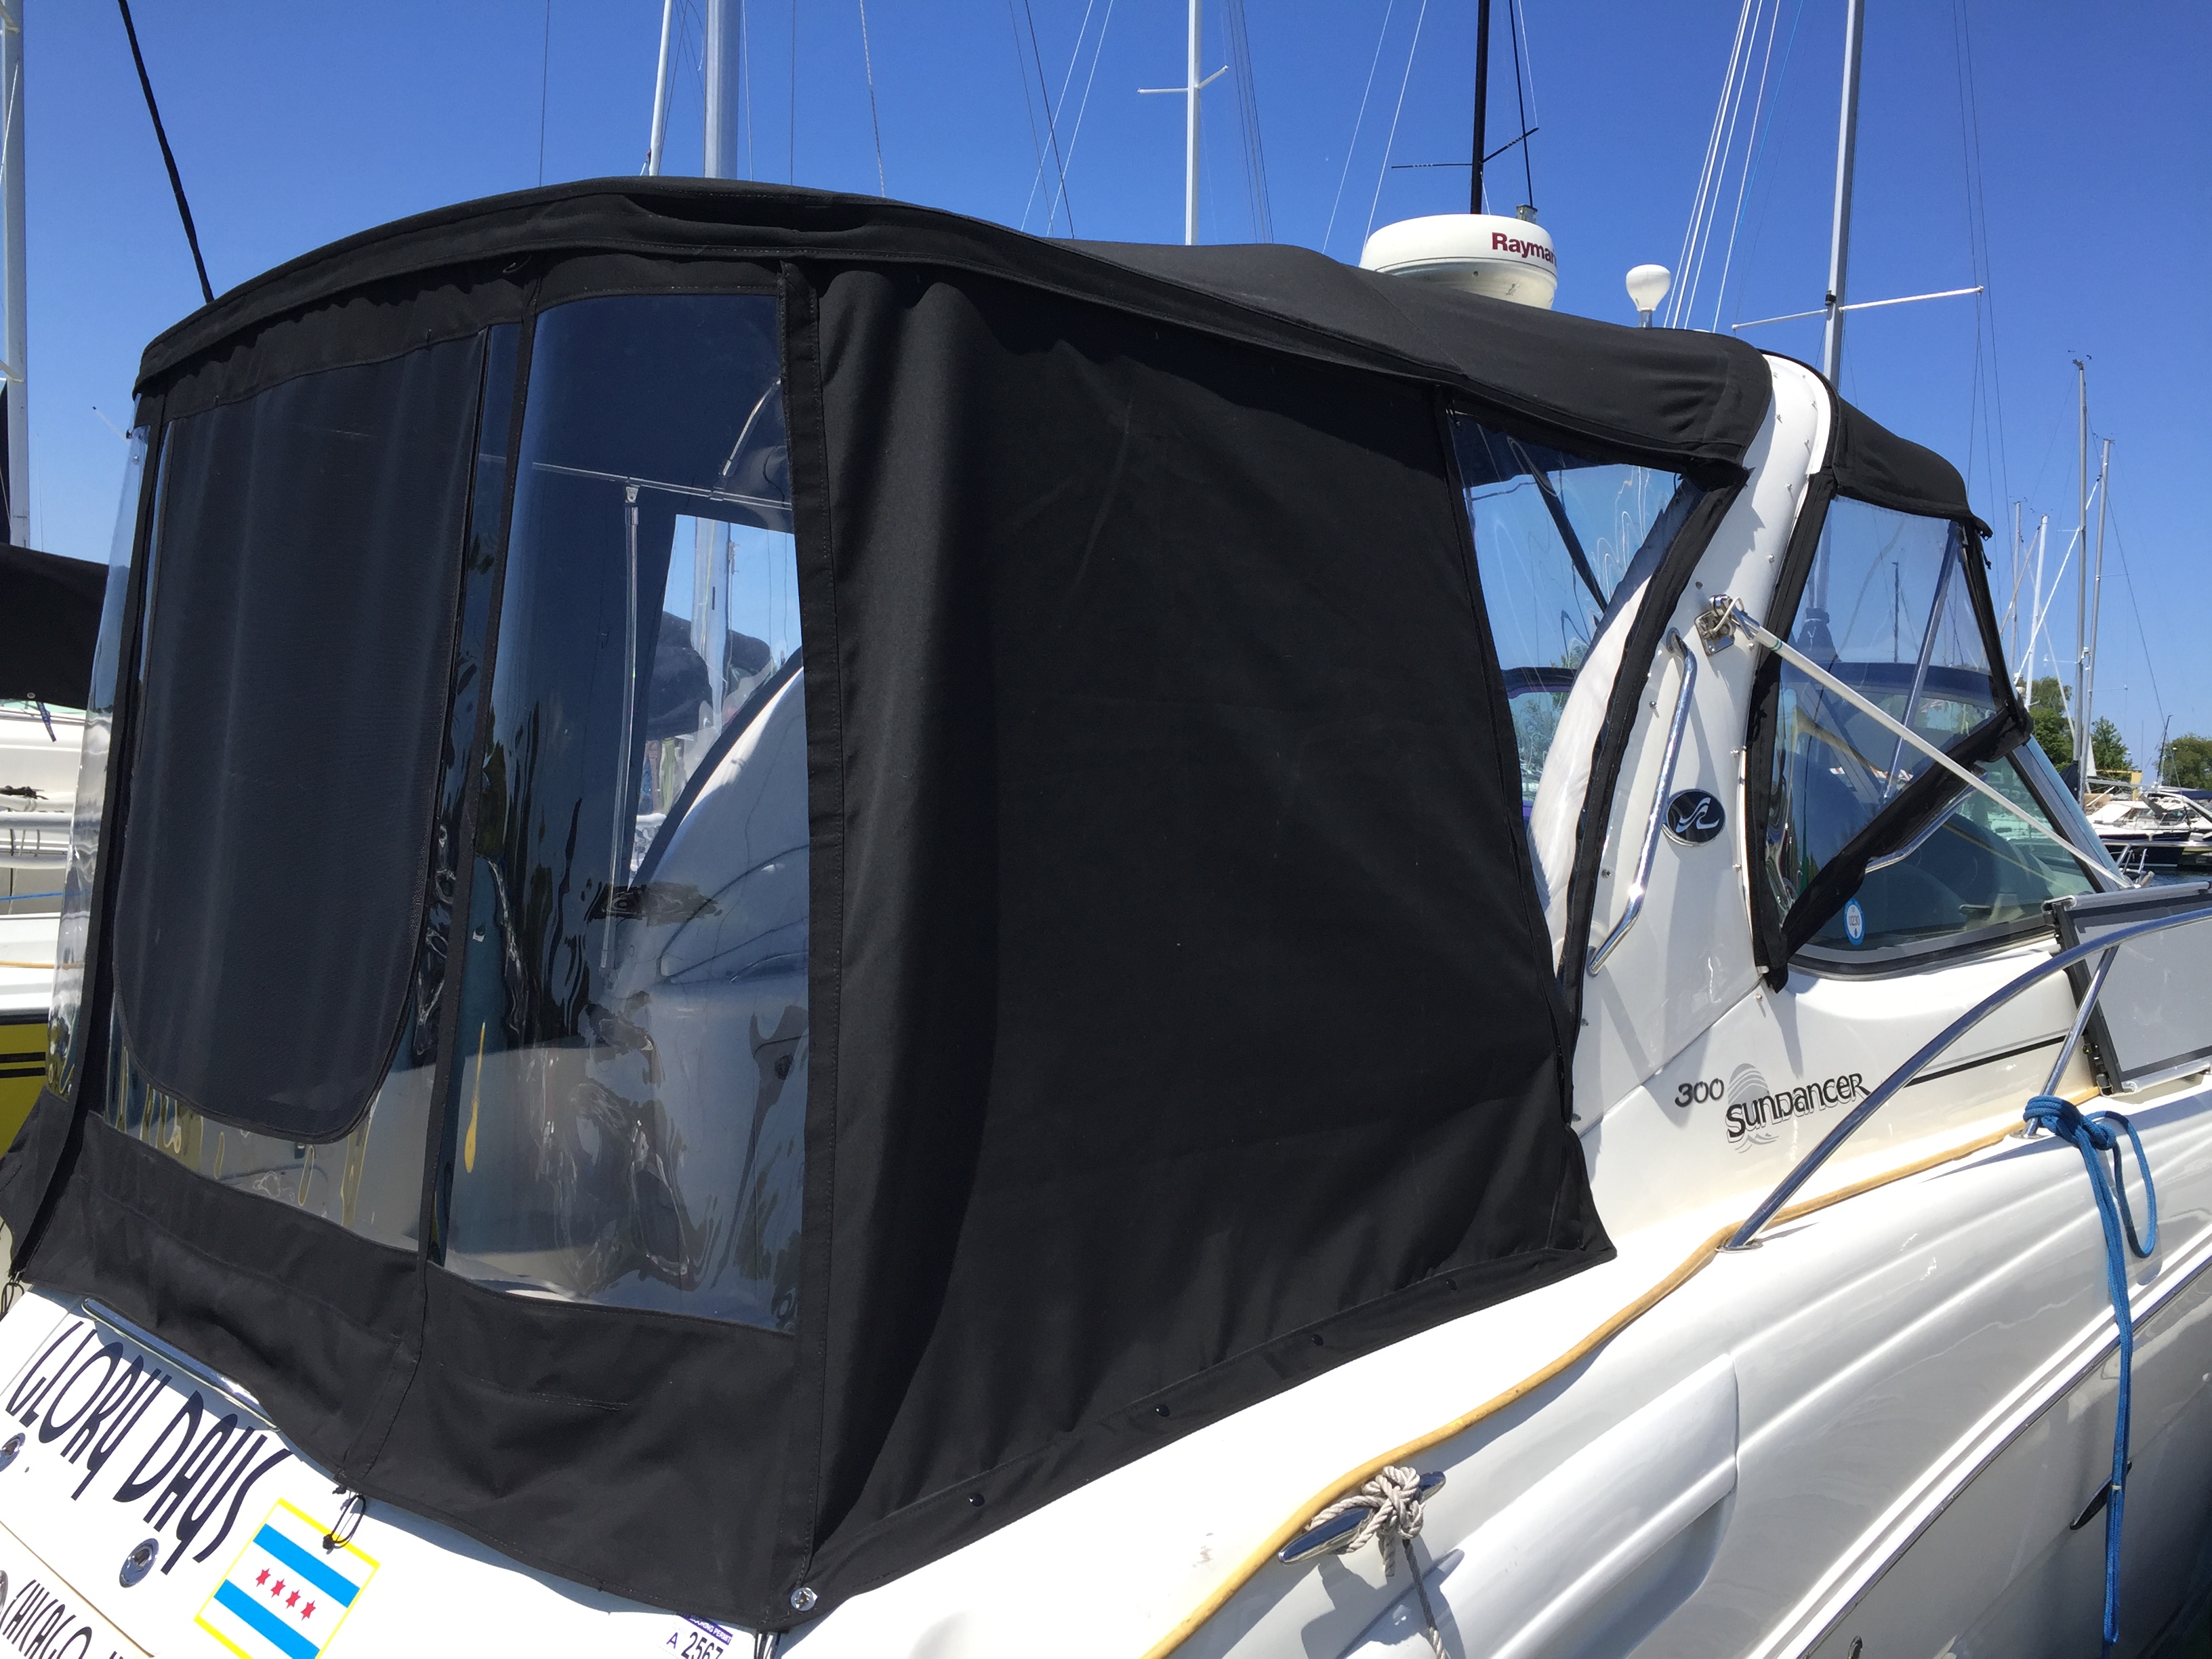
The aft windows on this boat are Strataglass. We used large pieces of glass for maximum visibility. Strataglass is now the only vinyl on the market that comes with a 2 year warranty after install.

We also created large canvas panels in the aft area of the boat, on the port and star side to help with shade while out on the water.

Wellcraft St. Tropez

32' Wellcraft St. Tropez Cockpit CoverAfter we fabricated a new cover for this customers neighbor, he called us wanting a new cover as well. This 32′ 1988 Wellcraft St. Tropez needed a new cockpit cover to keep its interior dry!

We do each cover we create custom, which requires us to go out to each boat. We do this because each boat is set up slightly different. Whether it be a minor adjustment to framing or the overall set up of the boat. That way your cover fits your boat like a glove! Our first step is to take 3d measurements of the boat quickly and efficiently. Our 3d measuring device is cost-effective and labor saving, which means it saves us time and you money! After we take measurements we head back to the shop to do design work on the computer making sure that our designer meets all your boating needs when it comes to your new cover. After we finish the design work, we head over to our plotter which is another cost-effective, labor saving tool we have here at Chicago Marine Canvas. After it’s all drawn out, we give everything over to our seamstress and she sews it up.

For this cockpit cover we used Sunbrella fabric in the color dubonnet tweed along with Sunguard polyester thread in black.

We did cut outs for this boats poles that had custom cuffs and velcro flaps to ensure security of the cover onto the boat, as well as preventing water from getting into where the poles are on this boat.

32' Wellcraft St. Tropez Cockpit Cover

We used a boat vent II to ensure airflow so that no mildew or must get stuck inside the boat if the inside ever gets wet!

We also put 2″ black webbing all around the bottom edge of this boat to to reenforce where we placed each one of the snaps. For snaps we used DOT fasteners in burgundy to blend into the cover.

Sea Ray Full Enclosure

This Sea Ray was in need of a new full enclosure, as well as new framing. We went out with Sea Ray With a Custom Full Enclosure Fwdour 3d measuring device and started to get to work. We first took some measurements of the boat so we could make sure the new custom framing would fit the boat properly. After that we headed back to the shop and started working on that first. After we installed the new framing, we brought our 3d measuring device back out to the boat and took measurements for the new custom full enclosure. Then we headed back to the shop to start the design process on the computer. Our designer makes sure to meet all your needs and all the special custom things that your boat may have, so that your new cover can fit perfectly! After we finish the design process we bring the design over to the plotter which helps us speed things up by drawing out all the pieces of the full enclosure. Then our seamstress cuts everything out and starts sewing all the pieces together.

For this enclosure we used  toast tweed Sunbrella fabric, GORE tenara thread, and Lenzip Zippers. Both GORE tenara and lenzip have a lifetime guarantee, which means the thread and zippers are going to outlast your canvas!

For the forward windows we used Makrolon which is a semi-rigid polycarbonate. Makrolon is great because it can’t expand or contract during the summers or the winters, and because it is a harder glass it looks as if you have a extension off of your windshield.

Sea Ray With a Custom Full Enclosure AftFor the aft windows we used Strataglass. Strataglass now offers a 24 month warranty on their products after they have been fabricated and installed on your boat. It is now the only vinyl on the market that has a warranty.

We used DOT fasteners in winter wheat so that they would blend in to the fabric!

Roll Up Window Replacements

A customer came to us with  a roll up window replacement because their windows were yellowing. This can happen over the years, from sun and weather, or even from boat cleaner chemicals getting on the glass.
To replace these windows we used strataglass, sunbrella binding, and lenzip’s waterproof chain zipper.

Our process to do this is to first take measurements of the windows using our 3D measuring device while the old glass is inside the windows still. We could do it this way because the customer said the windows still fit perfectly, they weren’t too big or small when he put them on his boat recently.

After we take the measurements we do the design work on the computer using CAD software. Then we draw out the new windows using our plotting device so they are exactly what we need.

Then we cut out the old windows, removing all the old discolored glass. After that we put down seamstick which is a double sided tape that helps keep all of our sewing holes a little more waterproof. Over time, dirt and outside debris will get in there and stick to the tape, creating a blockage in the needle hole. We put this all along the outside edge of the glass.

Then we put that aside, and we do the roll up window. First we put down the water proof zipper, also using seamstick. After the zipper is down, we put binding we’ve sew up on the front and back of the window, so it looks nice and clean. After that, we sew down the zipper, then we place the new window into the old canvas, and sew it down.


Window Replacements for Cracked Windows

We recently had a customer contact us about possible window    replacements. So we went out to their boat in storage to check out each panel and see what ones we needed to bring back to the shop to replace. Only two windows had makeshift patches on them. The customer used tape and stickers to help prevent water leakage for the time being. This is a great solution, by the way, for  a temporary fix until you can get a hold of your local canvas shop to either ad a patch to the window, or replace the whole window itself with new glass.
There are a couple different ways to do window replacements. It all really depends on the weather, and what shape your canvas is in. If its super hot outside, chances are your canvas has a lot of stretch to it. It’s probably easier to put on your boat because the fibers are more relaxed because of the heat. If it’s colder your canvas will be a little more hard and less likely to be so stretchy.
This canvas was in pretty good shape and looked rather new. Since it’s winter right now and it’s cold, this canvas wasn’t so stretched out. So we were able to do them both in a couple of hours without having to run back out to the boat and take 3D measurements.
So we cut out the old windows out, first using a utility knife to get as close as we can to the edge of the canvas. Then we get in there with a pair of scissors and do the rest of the cutting, the same way, as close as possible to the edge. We want your new windows to look as if, they were magically fixed and like no work was done on them, so this part is very important.
After we cut out the old glass, we roll out the new glass and trace out the old windows onto the new glass. There are a few different kinds of glass you can choose. The differences vary in price and quality, as well as how long it’ll stay clear and thickness. This customer chose Strataglass. So we trace out the old glass onto the new glass to use as a reference point as to where the new window needs to line up, that way it fits perfectly. We carefully add an inch of glass around the line we just traced for a seam allowance. Then we put seamstick, which is a double sided sticky tape on the outside of the window where our seamstress will be sewing. Seamstick is just an extra precaution to help prevent water leakage through the needle holes of our sewing. Over time, dirt gets stuck in the holes, and since theres something sticky underneath, it helps block them up, which helps prevent any water from going through the holes. After we apply the seamstick, we line the windows up in the correct spot and sew them in!

Forward Window Replacements

A lot of people come to us with their canvas in great shape but their windows are on their last leg. When it comes to cases like these, we do window replacements. Today that’s what we are doing, forward window replacements.
These windows are starting to discolor, become foggy which can prevent visibility. They are also starting to crack which will cause water leakage. A cost effective way to help fix this issue is to replace the glass. img_20161201_152711526
We start off by measuring the windows with our 3d measuring device then we go to the computer and have the actual window size that’s needed to replace  the glass.
While one of us does the design work, we have another person prepping the windows. img_20161201_152755405img_20161201_152816637
We start off by cutting as close as we can without damaging the canvas with a knife to give us room to start using scissors to cut the old glass out of the windows.
After all the old glass is removed we cut out img_20161201_160148686the new glass for the windows. For these window replacements, we used Strataglass in Light Smoke, which has a slight tint to it.
After those are all cut out, we start replacing the new glass into the old canvas. Using seamstick to make sure that all of our needle holes can become waterproofed, we line the whole outside edge of where we will be sewing along the window. We don’t want your new windows to leak any water!
After the seamstick is applied to the canvas, we img_20161202_103100749take the new windows and line them up correctly, and then sew them all down.
After we are all done, here’s how they look. Nice and flat, and brand new! The old cracked discolored glassimg_20161202_112758192 is gone and your windows look brand new! When summer comes around your windows will look updated without replacing your whole canvas!


Sea Ray

Sea Ray Cockpit Cover By Chicago Marine CanvasFor this Sea Ray, we did a custom cockpit cover with custom boots for their framing.

Here at Chicago Marine Canvas, we only do custom work. That means no two covers are a like. We begin every job by physically going out to your boat to take measurements with our 3D measuring device. Our measuring device is one of the many tools that we have here in our shop that is cost-effective and labor saving. After we gather all the right numbers, we head back to our shop to begin the design process.

We do all of our design work on the computer using CAD (Computer-Aided Design) Software. This helps save us time and you money. Here we can quickly design your cover, and see it in 3D before we even sew it all together. Once we make sure that all of your needs are met and that the design is top notch, we send it over to our plotter. Our plotter is another one of our fun tools that we use to save us time and you money. It can quickly draw out the pattern for your new cover in a matter of minutes, without any errors. After it’s all drawn out, our seamstress cuts out all the pieces and begins to sew it all together.

For this cover we used Sunbrella fabric in Heather Beige! Sunbrella fabric is one of our favorite canvas’ to use here in our shop! It comes with a 10 year warranty and is fade resistant! To sew everything together we used GORE Tenara thread. GORE tenara is a great thread to use for outdoor applications because it is UV resistant, weather resistant, and chemical resistant. It comes with a lifetime guarantee, which means no more restitching once your cover has been out in the sun for a few years!

Window Replacements

window-replacement-double-polishedCanvas still looking great but your windows are cracking or are starting to become discolored? An easy cost effective way to fix that issue is window replacements.
Our process is a little different then other boat shops. Over time your canvas can become stretched out or even shrink after its been on your boat for a while. To help ensure that your windows will fit we start off by taking your old windows and removing the old glass from them. Then we head out to your boat, zip the windows back onto the bimini and snap them down to the boat. We then take our 3D measuring glass-with-meshdevice and take real measurements of the windows, so we have a guide as to where the new windows need to be sewn, so they look great and fit just right when we are all done!
We can also help you pick out your new window material. Maybe you want Strataglass or Eisenglass.

42′ Silverton Express Cruiser – Cockpit Cover

This 42′ Silverton Express Cruiser was in desperate need of an updated cockpit cover.

Silverton Express Cruiser Cockpit Cover by Chicago Marine Canvas

Here at Chicago Marine Canvas, we only do custom work, that means, no two covers area alike! The first step to our process is to physically go out to your boat and take measurements using our 3D measuring device. This is one of our many cost-effective, labors-saving tools. After we quickly gather our measurements we head back to our shop to begin our design process. We do all of our design work on the computer using CAD (Computer-Aided Design) software. With this tool, we can see a 3D version of your new cover before we even draw it out! This way we can make sure that everything is perfect and all of your needs are met.

For this cockpit cover we used Erin Green Sunbrella Plus fabric, which has a polyurethane backing on the inside of the cover, it helps really ensure water resistance for this boat cover! We also used GORE Tenara thread in clear, which has a lifetime guarantee to outlast your canvas! This thread is great for boat covers because it is UV resistant and wont wear out over time! This cover also had two Boat Vent II pole holders helping to prevent water from pooling on the cover, and to help create airflow through the boat while the cover is up. This can help prevent mold and mildew from building up inside the boat cover when its up! We used DOT Snaps to attach the cover to the boat to finish it off!

Navigation Console Cover

img_20160802_085850949_hdrNeed a custom cover for your navigation console? Were the people to come to. Using our 3D measuring device, we can assure to fit all your boats needs.

img_20160802_085820054_hdr

We created this custom cover out of Black Sunbrella fabric. Using DOT snaps, it snaps right onto the console itself making sure the wind wont take it away, and your navigation area will stay dry!